
PVC vinyl banners are an ideal way to make your brand stand out. These eye-catching advertising tools are real head-turners in exhibition halls, at construction fences or sports events. We recently organized a sweepstakes to give our Facebook fans the opportunity to get inspired by this awesome promotional tool. The Berlin-based AHOJ! Souvenirmanufaktur, which produces creative souvenirs, was the lucky winner of a professionally designed advertising banner including print. We used the opportunity to film a tutorial of the design process.
Contents of this article:
The briefing
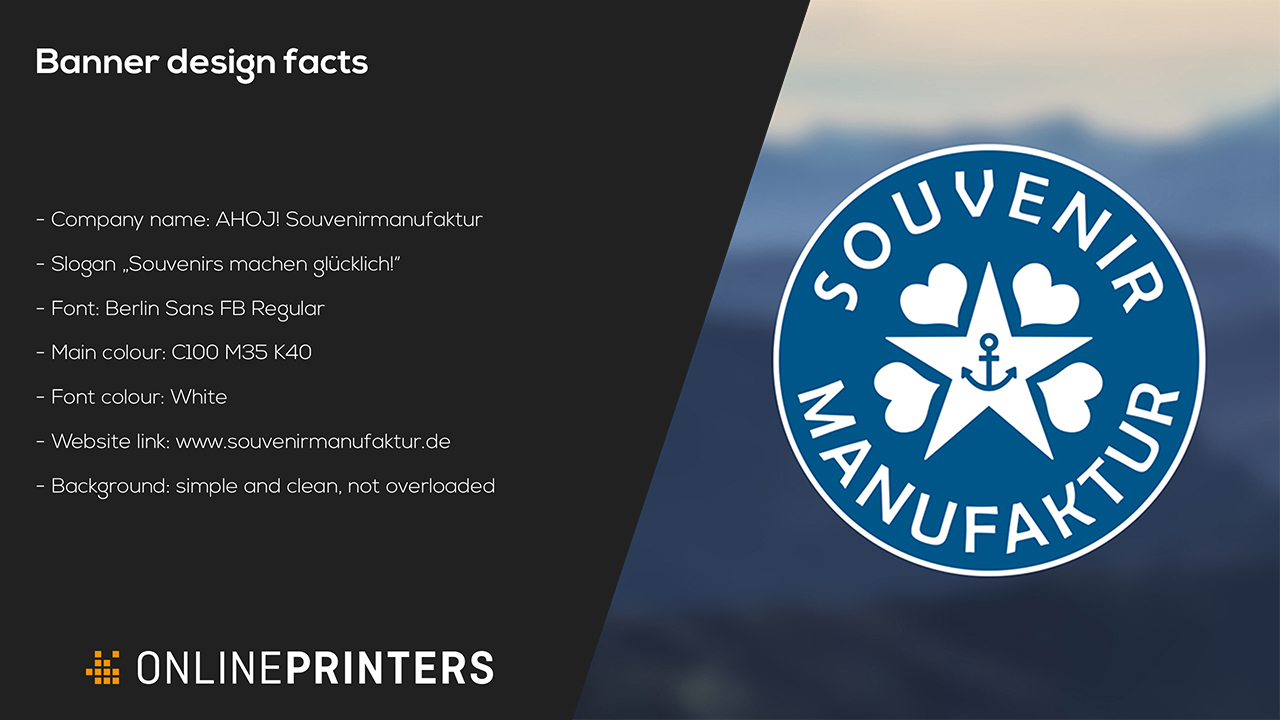
Before diving right into designing the advertising banner for AHOJ! Souvenirmanufaktur, we first met with our contact to discuss design preferences and specifications. What should the banner look like? Which text should be incorporated? Which corporate design specifications need to be considered? We started the design work based on the following data:
- PVC banner, 200 cm x 100 cm, 4/0 colours
- With hem and eyelets
- Company name: AHOJ! Souvenirmanufaktur
- Claim: “Souvenirs machen glücklich!”
- Font: Berlin Sans FB Regular
- Primary colour: C100 M35 Y0 K40
- Font colour: White
- Link to the website: www.souvenirmanufaktur.de
- Background: simple and minimalistic, not overloaded
Tips for designing advertising banners:
- Your elements should be sufficiently large and visible.
- Do not add too much information!
The design idea
Our design idea comprises four areas:
Background: The primary colour cyan looks great and is ideal to fill the entire background.
Text: As text elements we add the claim “Souvenirs machen glücklich!”, the company name “AHOJ! Souvenirmanufaktur” and the website address “www.souvenirmanufaktur.de”. This is not a lot of text for a banner of this size but this is intentional, because it gives emphasis to the individual elements.
Logo: The logo creates a powerful impact with its circular shape and the ornaments at the centre. Thus, the logo becomes the eye-catching element.
Text colour: We use dark cyan as the primary colour which goes well with the specified white and assures optimum legibility.
Designing the banner in InDesign: Step by step to the advertising banner
For the design, we used our free InDesign template available for all dimensions on the product page in the online shop.
Our tip:
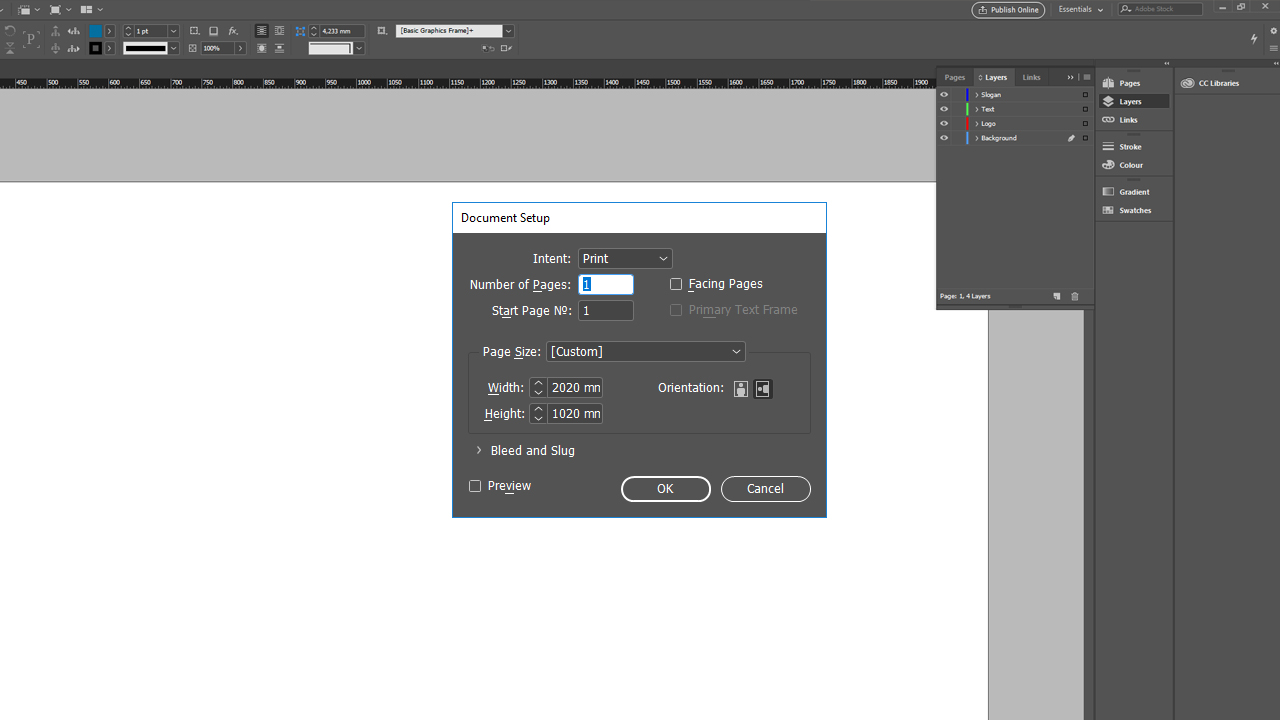
You have to add the bleed to any print document that will be further processed. It is 10 mm on all sides for advertising banners. If you click File > Document Setup in the template, you will see that the correct bleed for the respective document size is already included.
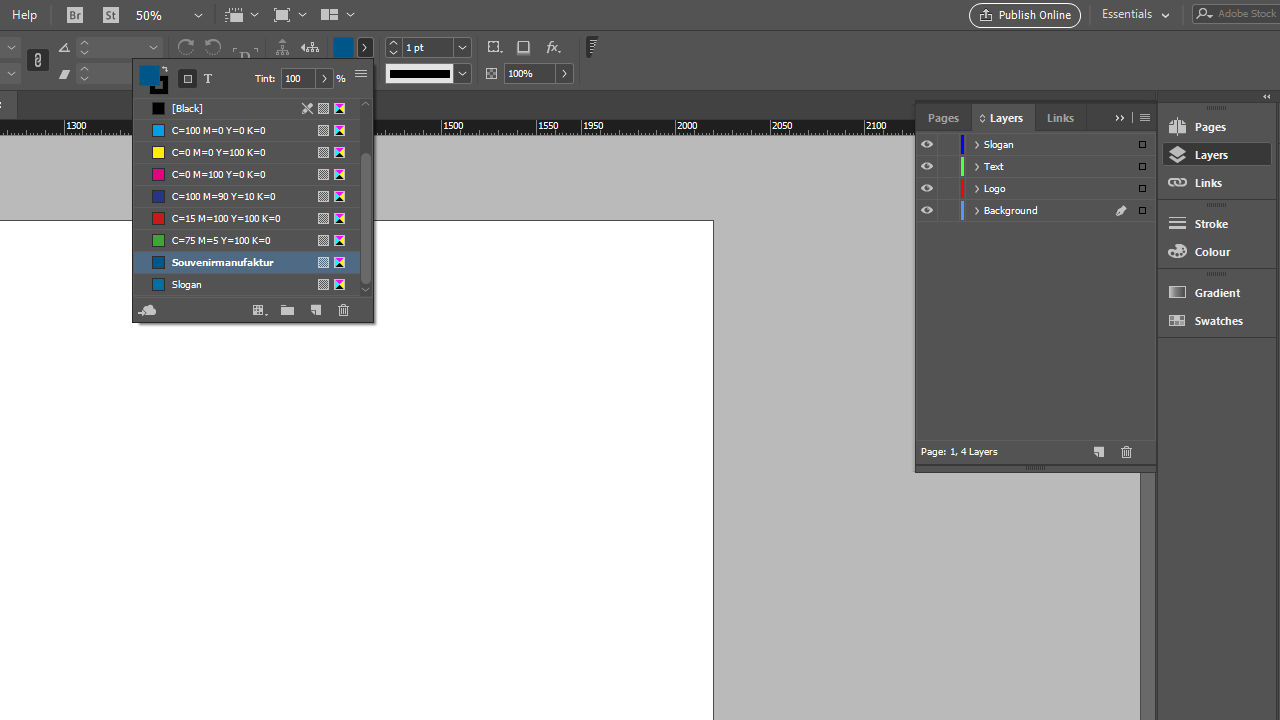
In the first step, we create the colours and the required layers. For the AHOJ! advertising banner, double-click the existing “Layer 1” in the Layers panel via Window > Layers and rename it to “background”. Then create three more layers: logo, claim and text.
In the next step, add the dark cyan for the background and the lighter hue for the claim.
Background
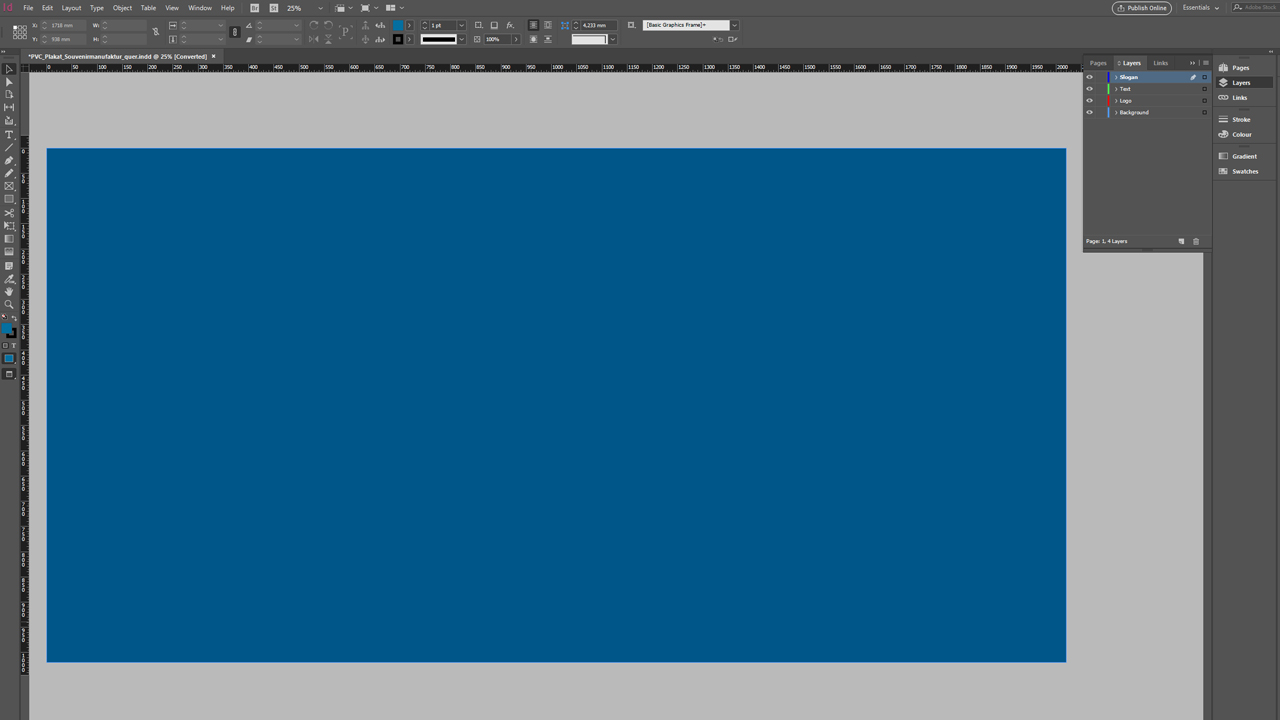
Having completed these basic steps, we continue with the background design. For this purpose, go to the background layer and use the Rectangle Tool to create a 2020 mm x 1020 mm rectangle. Adjust the rectangle to the banner size and colour it in dark cyan using the Color Themes.
Our tip:
Click the padlock icon in the Layers panel to lock the background layer and prevent it from being moved inadvertently.
Logo
![]()
Next create another rectangle, click into it and import the logo from our computer using the shortcut Ctrl + D. In our case, the logo is smaller than the rectangle we created, but this is not a problem since you can adjust the logo to the rectangle by right-clicking > Fitting > Fit Frame to Content. Important: The logo must be available as a vector graphic to be scaled without loss. If the logo is still blurry, this is probably not because of poor logo quality but because InDesign needs to save resources. To display the logo in full resolution, right click > Display Performance > High Quality.
Company name
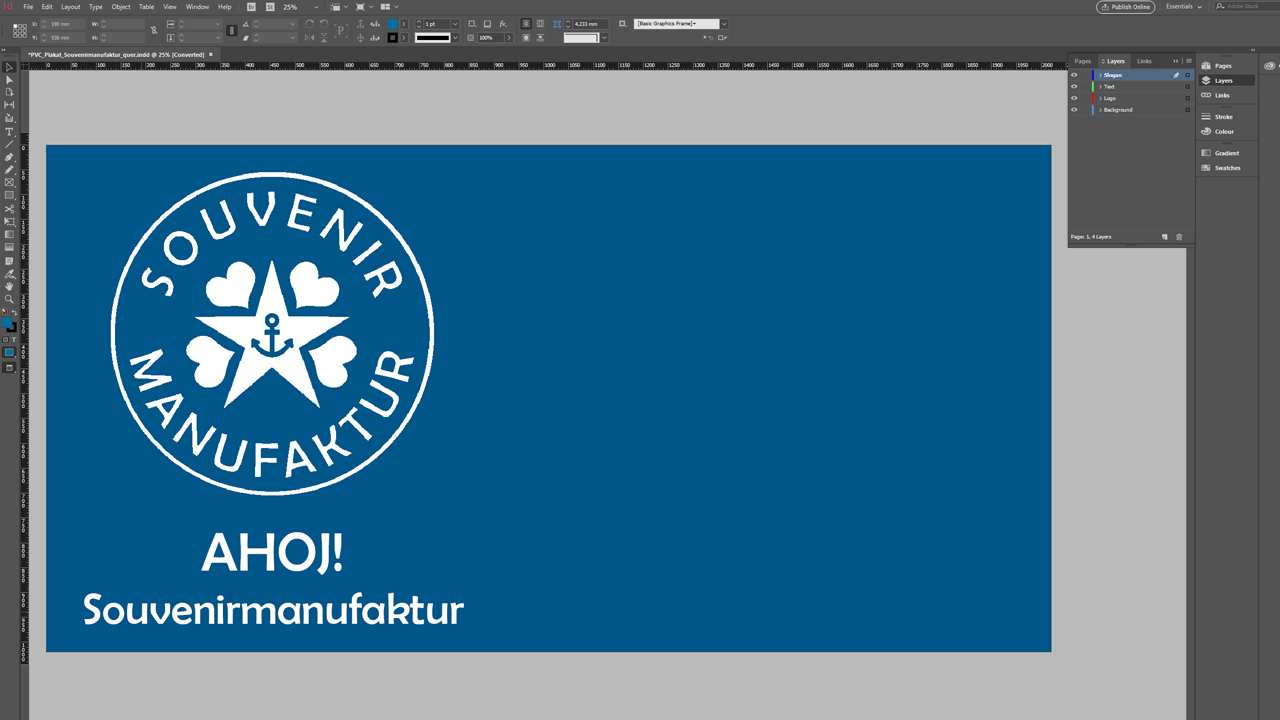
Use the Text Toolto drag out a text frame below the logo in which to insert the company name. The text is formatted in Berlin Sans FB Regular font and placed in the middle below the logo. The font size of the word “AHOJ!” is slightly bigger than that of “Souvenirmanufaktur”.
Website
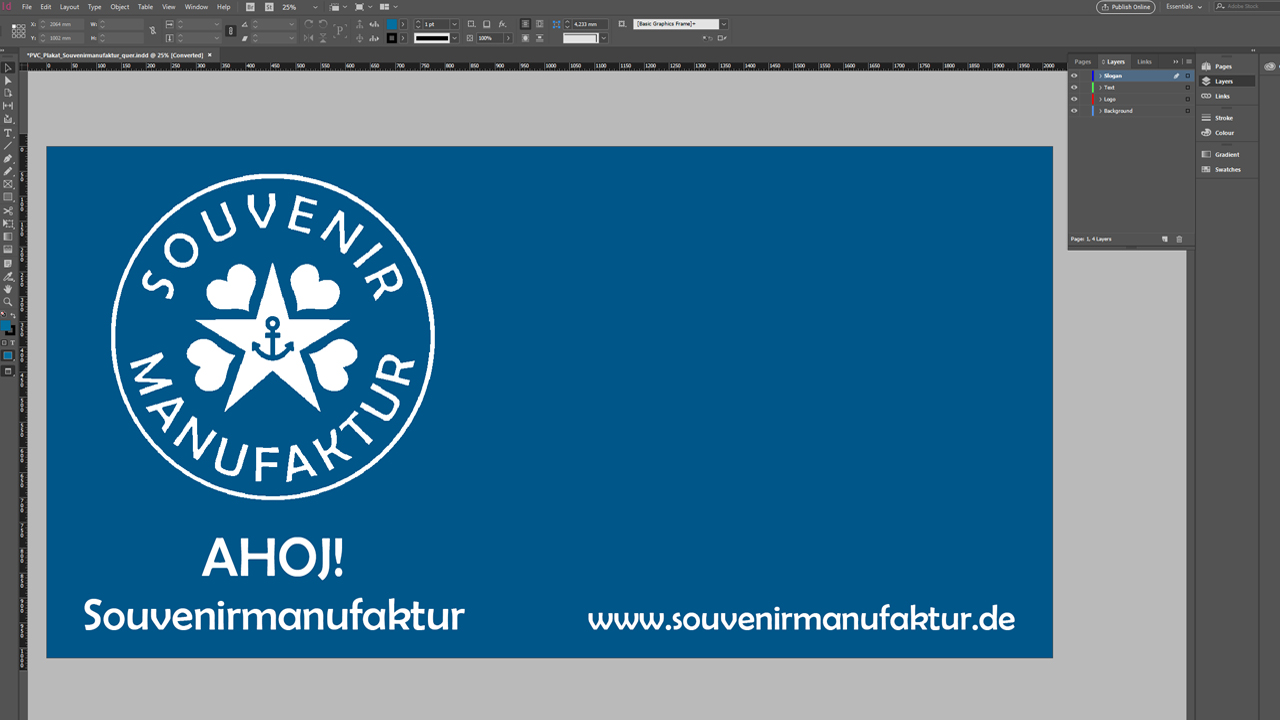
Subsequently, add another text frame for the website address. Place the text frame including text in the lower right corner and make sure that the company name and the website address are aligned properly.
Claim
Finally, add the claim in the upper right corner. Distribute it evenly across the empty space as large as possible. To add a fancy effect, position the last letter of the words just outside the template and rotate the claim by approx. 10 degrees to the left to create an ascending line. To delimit the claim, add tapered stripes at the top and bottom.
Print and export the banner design
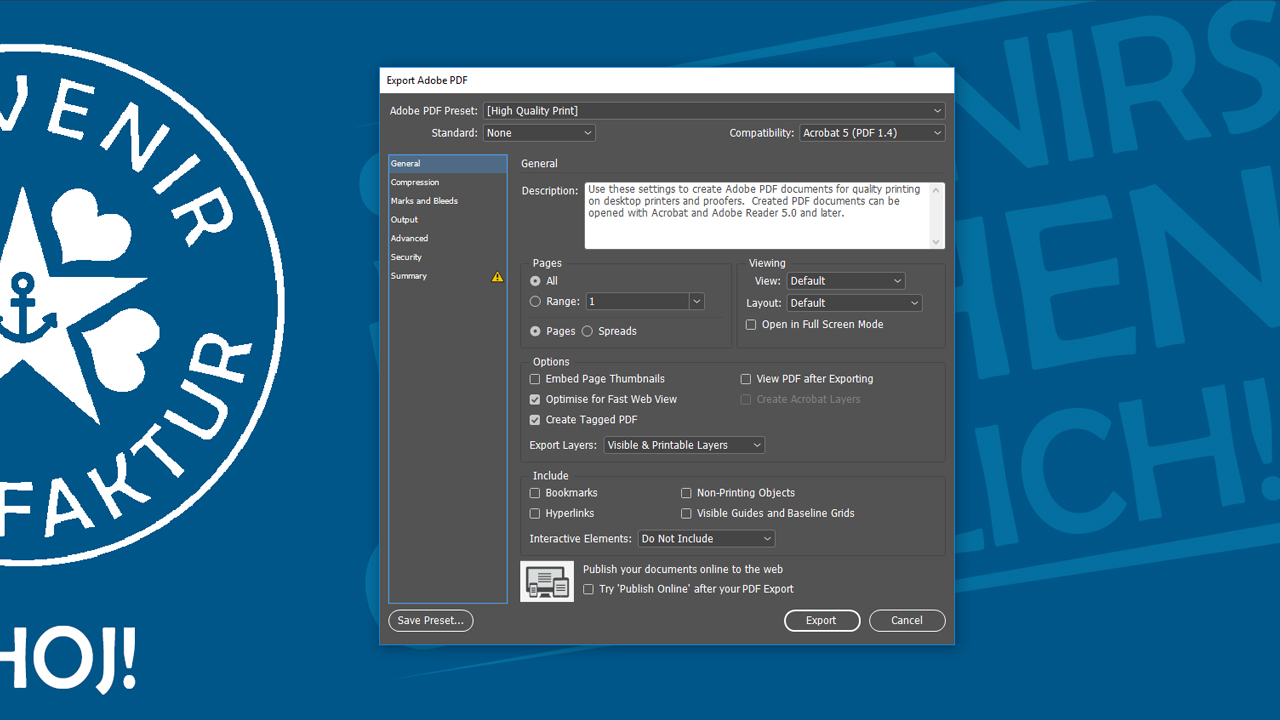
After completing the design phase, you can prepare the artwork for printing. For this purpose, open the export window via File > Export. The InDesign template comes preloaded with all necessary settings so you don’t have to do anything here. The Summary panel might show a small warning icon. This is because the bleed was not defined separately but was included in the document size. Click Export to save the artwork document and submit it to Onlineprinters for printing.
Credits:
By media designer Christoph Ullrich.
We thank AHOJ! Souvenirmanufaktur for the great cooperation.


