
Part of the “large format printing” family, banners pass through multiple processing steps in production. The tutorial banner design for AHOJ! Souvenirmanufaktur illustrates the design process of an advertising banner from customer briefing and design idea to creating the banner in InDesign and exporting the print-ready artwork. This article builds on these four steps and shows you how a banner is produced in three short videos.
Step 1: Printing
The printing substrate, PVC vinyl, is fed to the digital printing machine from a large roll. The banner of AHOJ! Souvenirmanufaktur is printed bit by bit together with other products and rolled back up on a second roll.
Step 2: Cutting
After printing, the roll is put on a large cutting table where the individual prints are cut to their final size. The machine cutting arm is computer controlled to accurately cut the banner to the specified size.
Step 3: Hem welding
To hem the banner, the edges are folded and bonded at high temperature. This additional processing step is performed on all four sides of the banner.
Step 4: Applying the eyelets
The banner eyelets are applied in the last step. The twelve transparent plastic eyelets are applied successively. They enable the banner to be mounted securely and easily to a fence or scaffold later on.
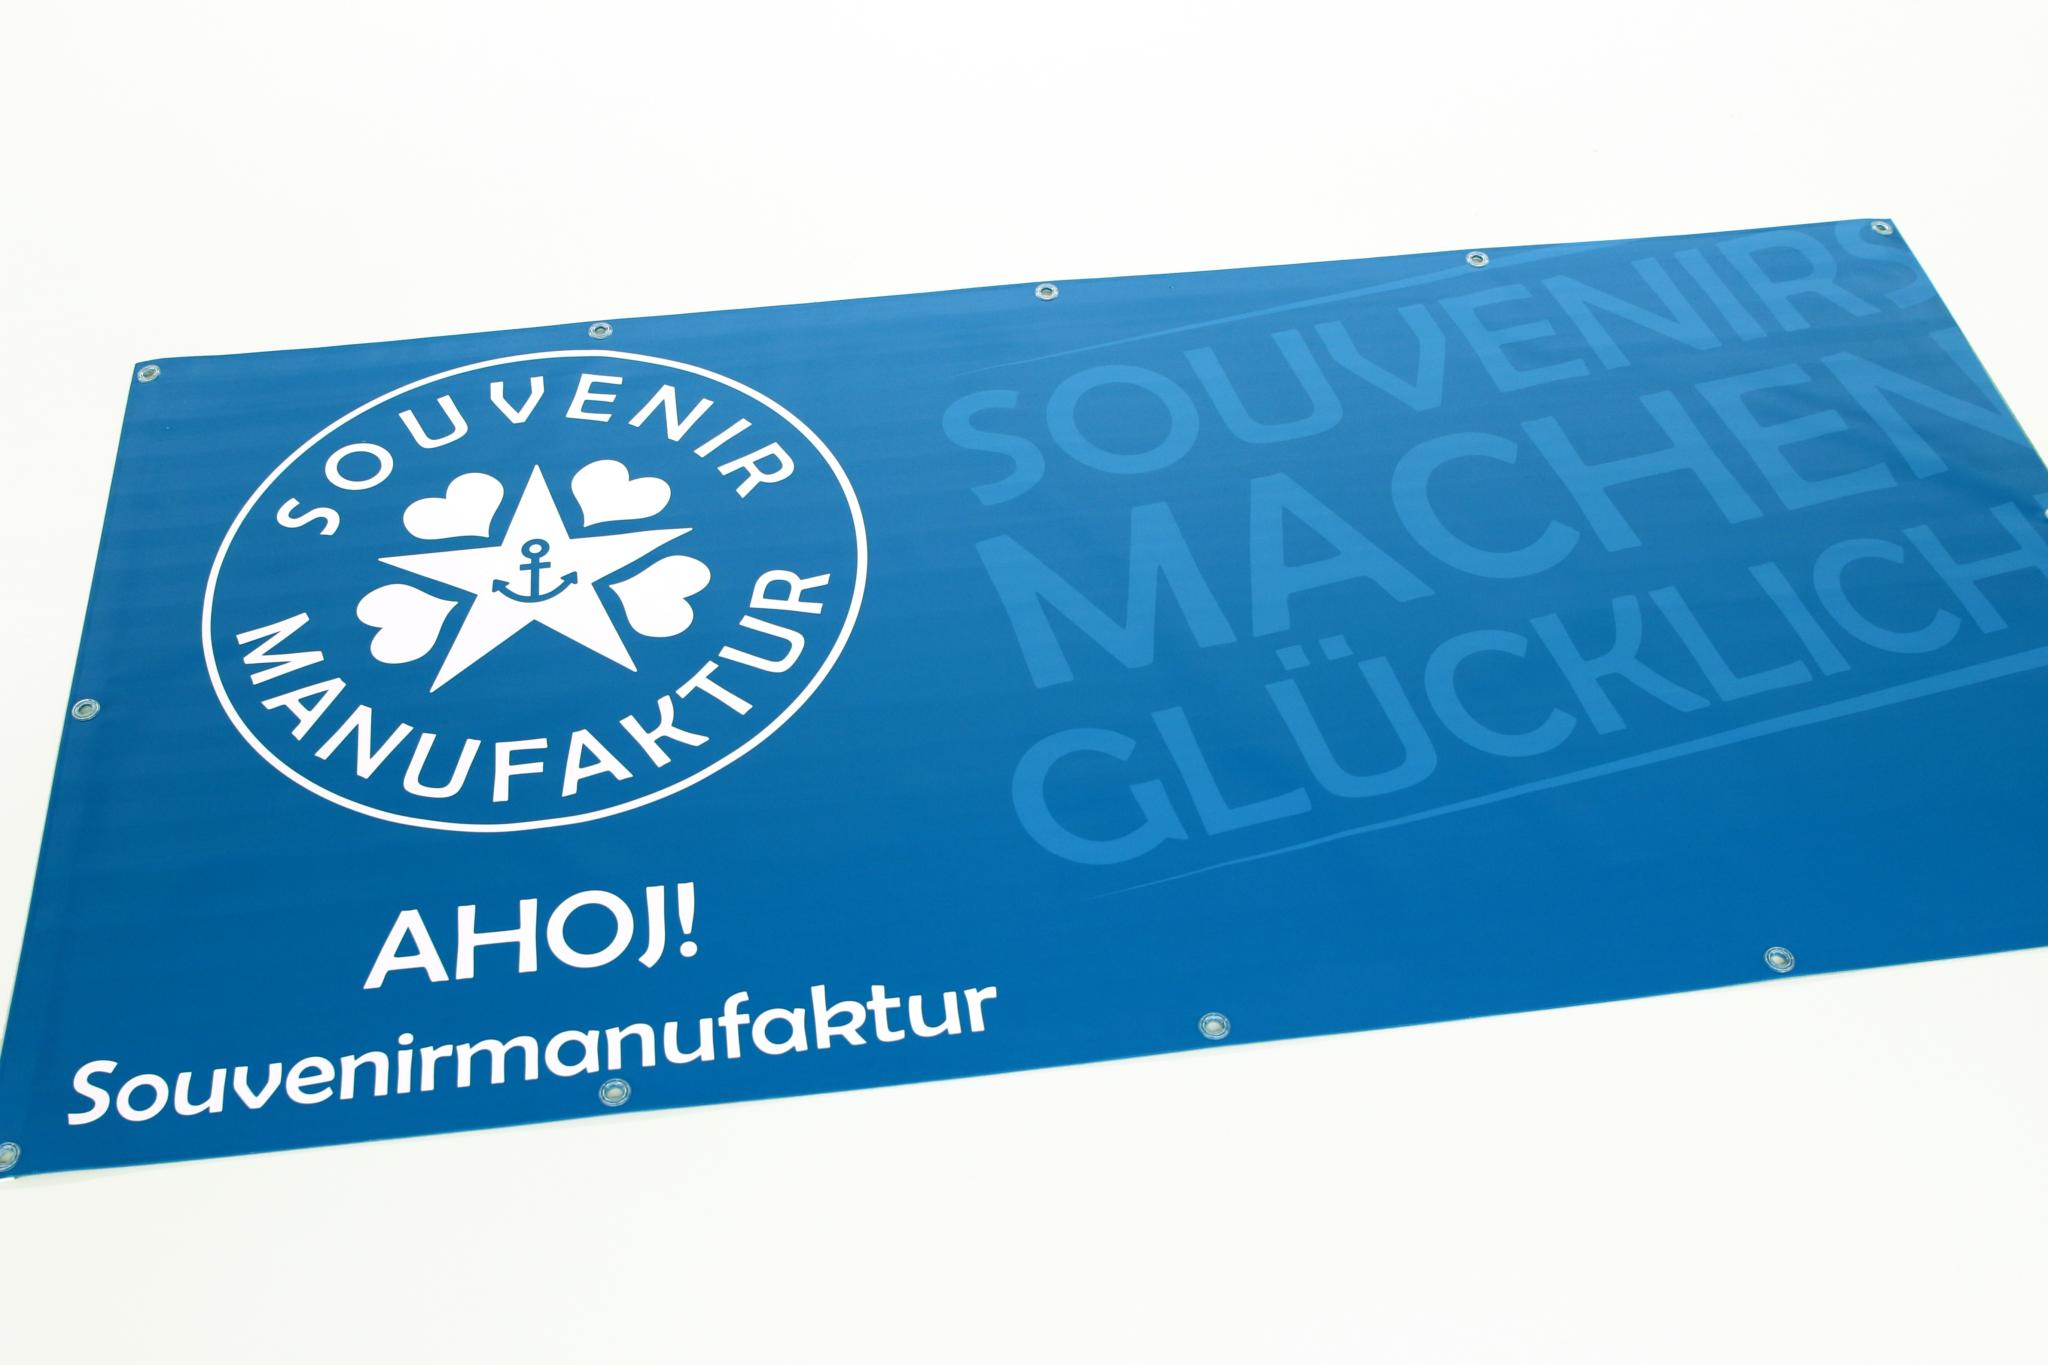
Now that production is finished, the banner can be packed and shipped to Berlin where it is already fervently awaited by AHOJ! Souvenirmanufaktur. We hope you will enjoy advertising with your new banner.


