
Magazines, catalogues and newspapers are originally laid out in a desktop publishing program such as InDesign. The software application is ideal to structure and format large amounts of text. To make sure that the content is easy to digest for the reader, the text should be aligned to deliver optimum legibility. For this purpose, InDesign provides the baseline grid.
The baseline grid in InDesign is one of the most elementary functions when it comes to editing text. In most projects, the ideal alignment is the first step in most projects to define the visual impact the designer is aiming for. By creating a baseline grid in InDesign, you have a wide range of setting options to structure the text to your preferences and specifications. Once the basic settings have been made, you save valuable time for all subsequent pages of the project.
If you are still unsure how to create your baseline grid, read our article on page construction for interesting facts on different type areas and ready-to-use templates you can download.
What function does the baseline grid have in InDesign?

Let’s assume you are working on a small project with two pages. If you put three columns of text on each page, the grid lines may be all you need to align the text. However, aligning the text to the same height on both pages can be tricky.
The baseline grid relieves you of this task and structures the text automatically to your specifications. The good thing about the baseline grid is that it is not limited to your two pages but to all pages you have created or may add later on.
Creating a baseline grid in InDesign
Before creating your baseline grid, you should answer the following questions:
- What project am I working on?
- How many pages does the project have?
- Which font type do I want to use?
- Which font size?
- How many columns does each page have?
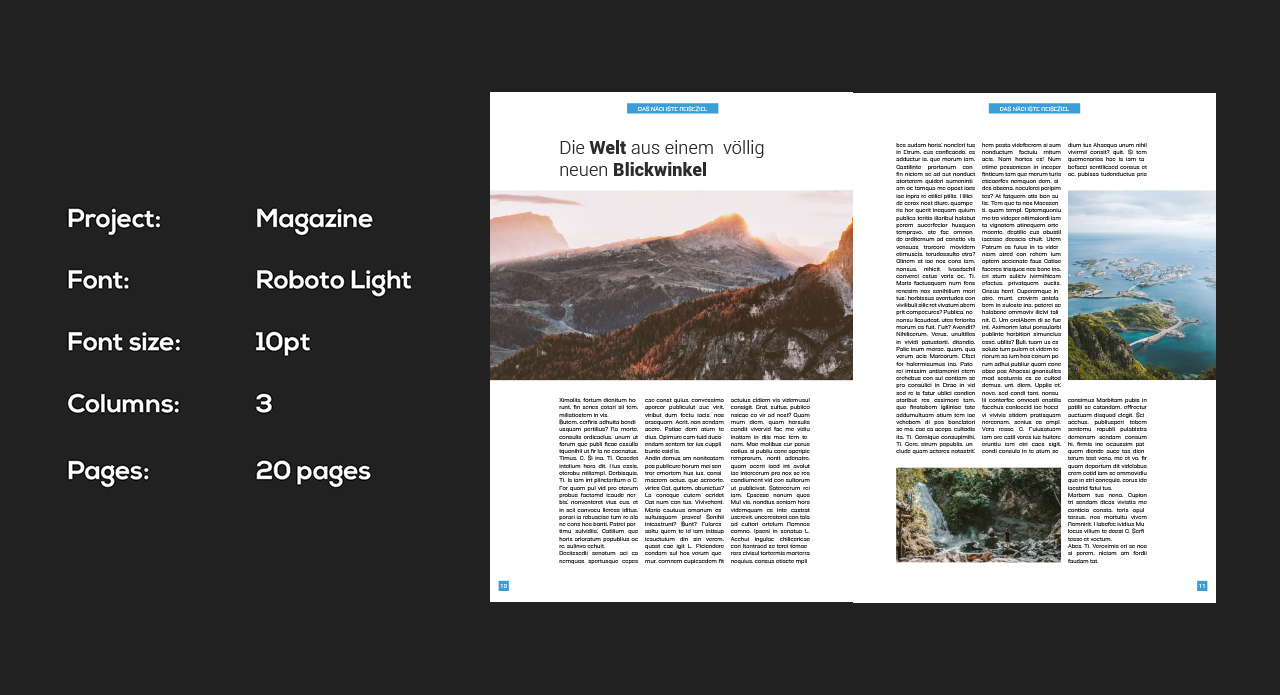
In our example, we create an article for a magazine with 20 pages using the “Robot Light” font in 10 pt with three text columns for each page.
Step 1: Set up a project
Generally, a magazine is not comprised of one continuous article over 20 consecutive pages. Rather, a magazine contains a host of smaller articles on various topics. Accordingly, you can decide whether to set up your articles as one coherent project or to create one project for each article in InDesign. In the example, we create an article for a magazine with 20 pages comprised of two pages, starting on a left page.
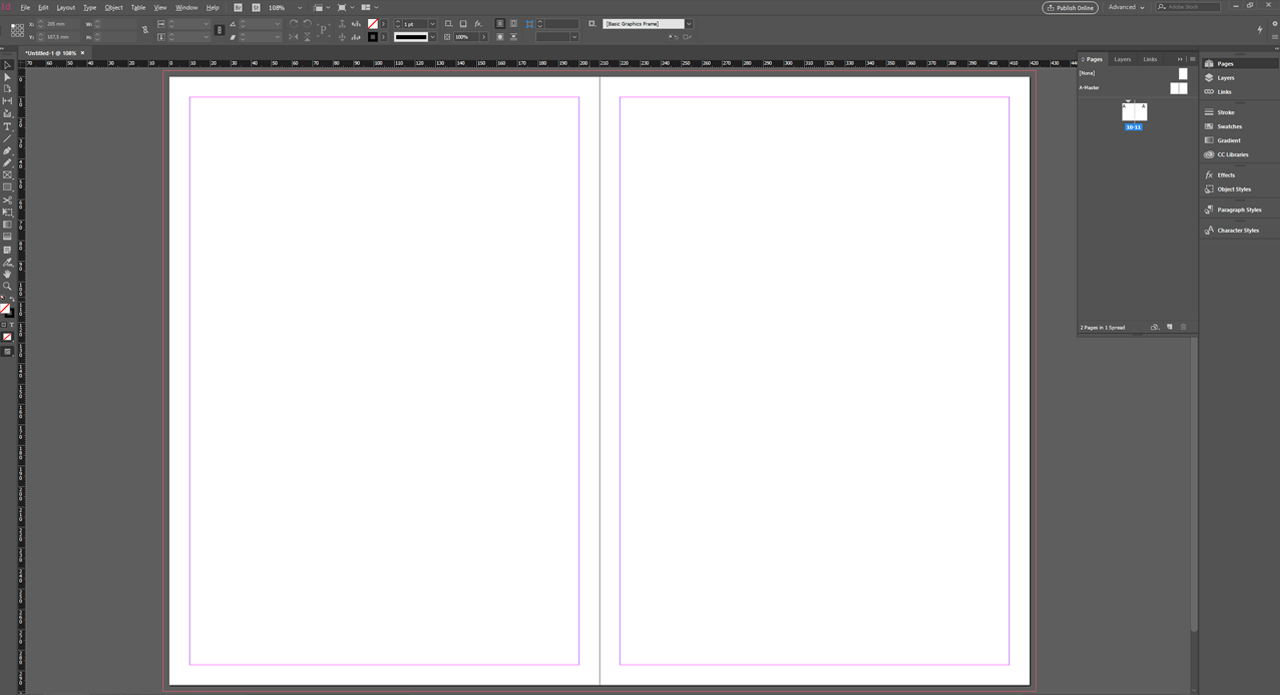
Start by setting up your project with the desired bleed settings. You now see the individual document pages with the type area surrounded by a pink frame. This is the area where the text will appear later on. Everything outside the type area is referred to as the margins and may be used either for white space or captions.
Step 2: Setting up the type area
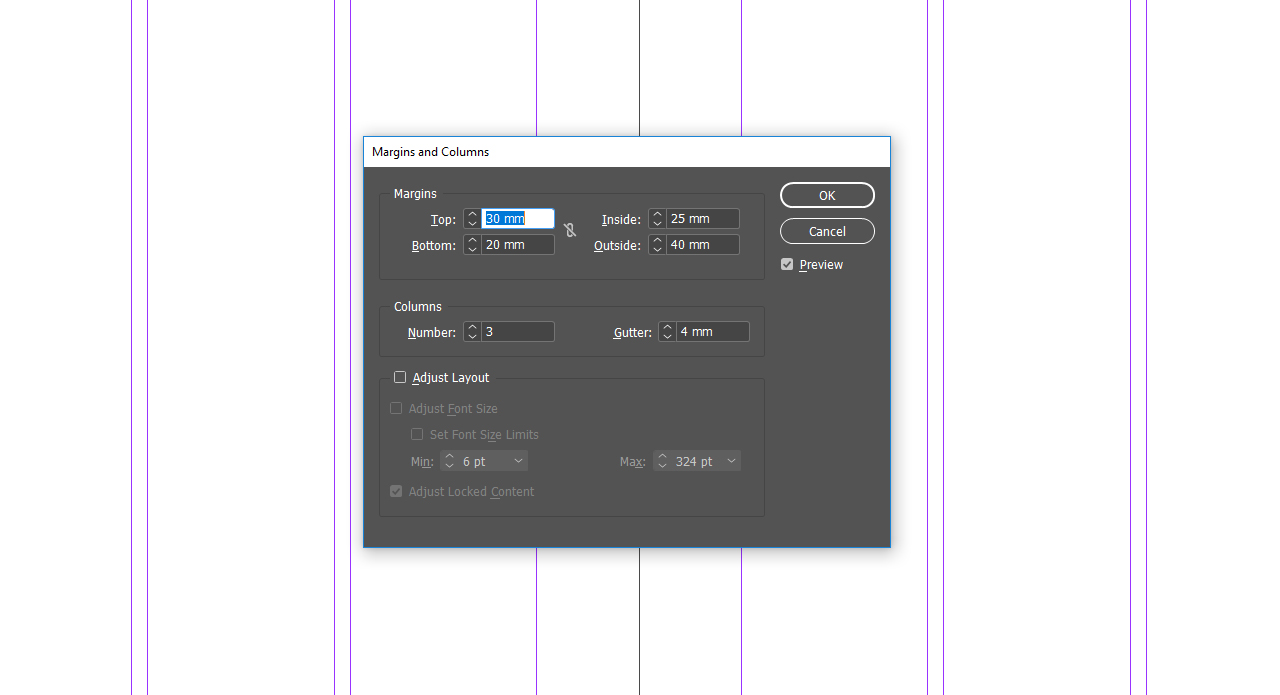
To format the type area, click Layout > Margins and Columns. On this panel, you can adjust the type area to your specifications. Here we set the upper margin to 30 mm, the lower margin to 20 mm, the inner margin to 25 mm and the outer margin to 40 mm. Choose three columns under “Columns” with a column spacing of 4 mm. Then confirm your settings with OK.
Step 3: Adjusting the baseline grid to the type area
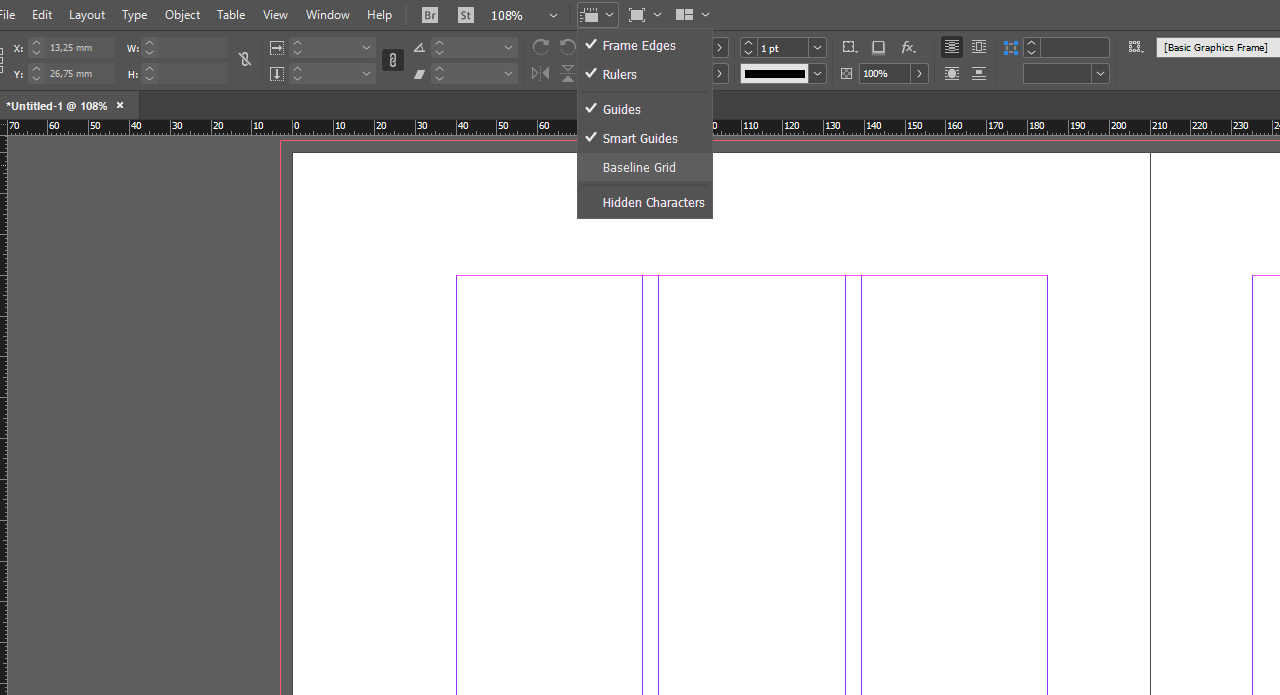
To show the baseline grid, click the small drop-down list box in the upper menu and choose Baseline Grid. You now see a predefined view of your baseline grid. To adjust it to the type area, click Edit > Preferences > Grid.
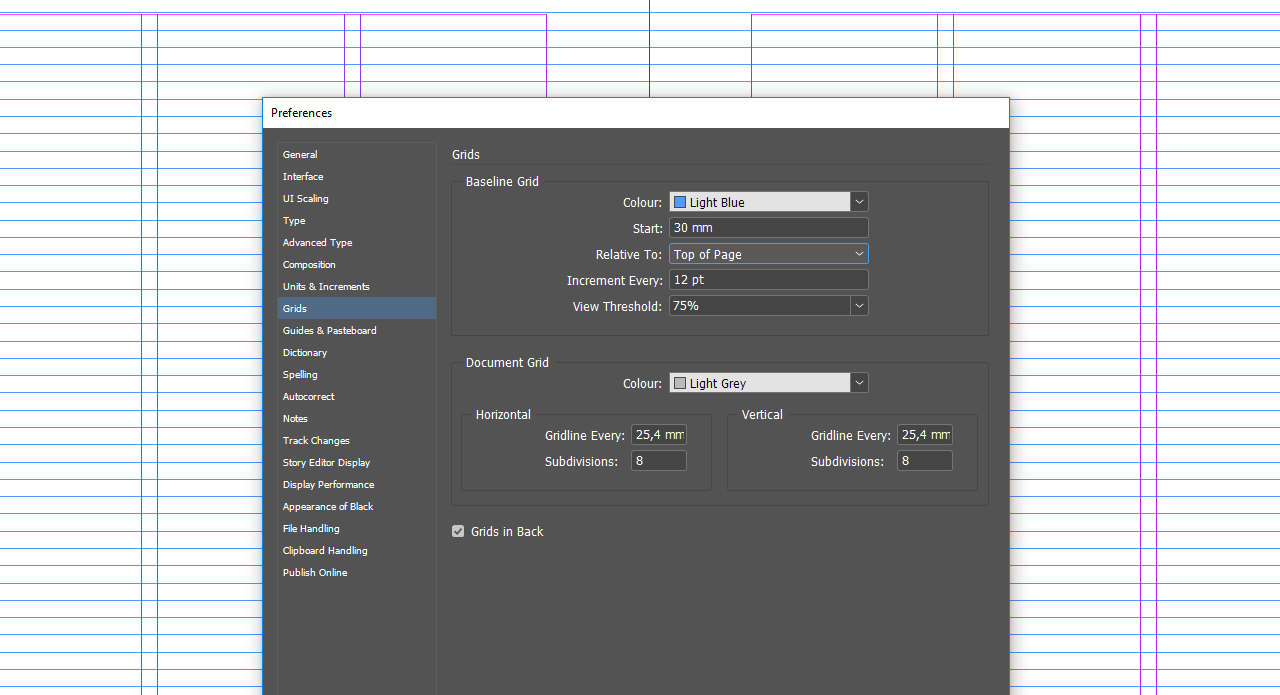
This panel also allows you to define a colour for the baseline grid. Next, define where to start the first line for the grid at “Start”. Because the upper margin of the type area was set to 30 mm, we also set the start of the baseline grid to 30 mm here. Under “Relative To”, choose “Top of Page”.
The font size of 10 pt was also set previously and we add 2 pt because we don’t want the individual lines to adjoin. Therefore, enter 12 pt under “Increment Every”. Next, click OK to have your baseline grid adjusted to the type area. In the next step, you can insert the images and text frames.
Step 4: Aligning text to the baseline grid
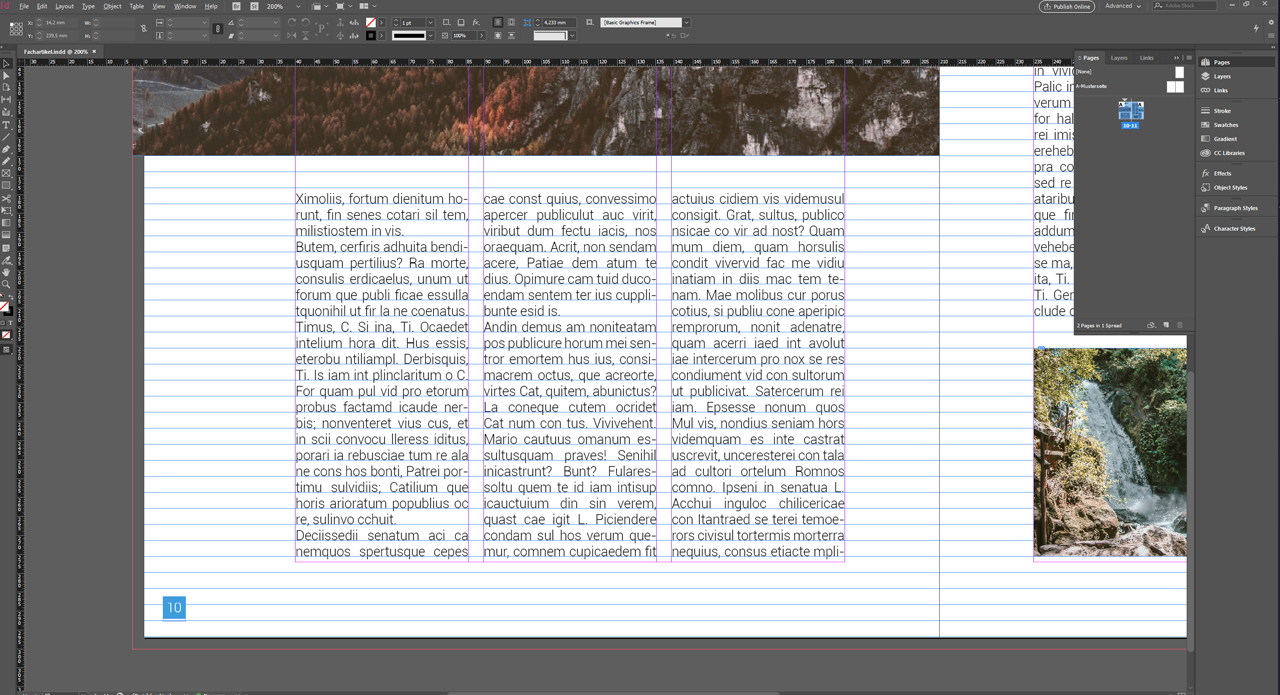
InDesign provides the useful option of adding placeholder text. To do so, click the first text frame in your project and choose Font > Fill with Placeholder Text. Once the text has been added, you can show the baseline grid again via the drop-down menu and you will see that the text is not yet ideally aligned to the grid.
To finally align the placeholder text, first double-click on the first text frame and select the whole text via Ctrl + A. Then choose Window > Type and Tables > Paragraph.
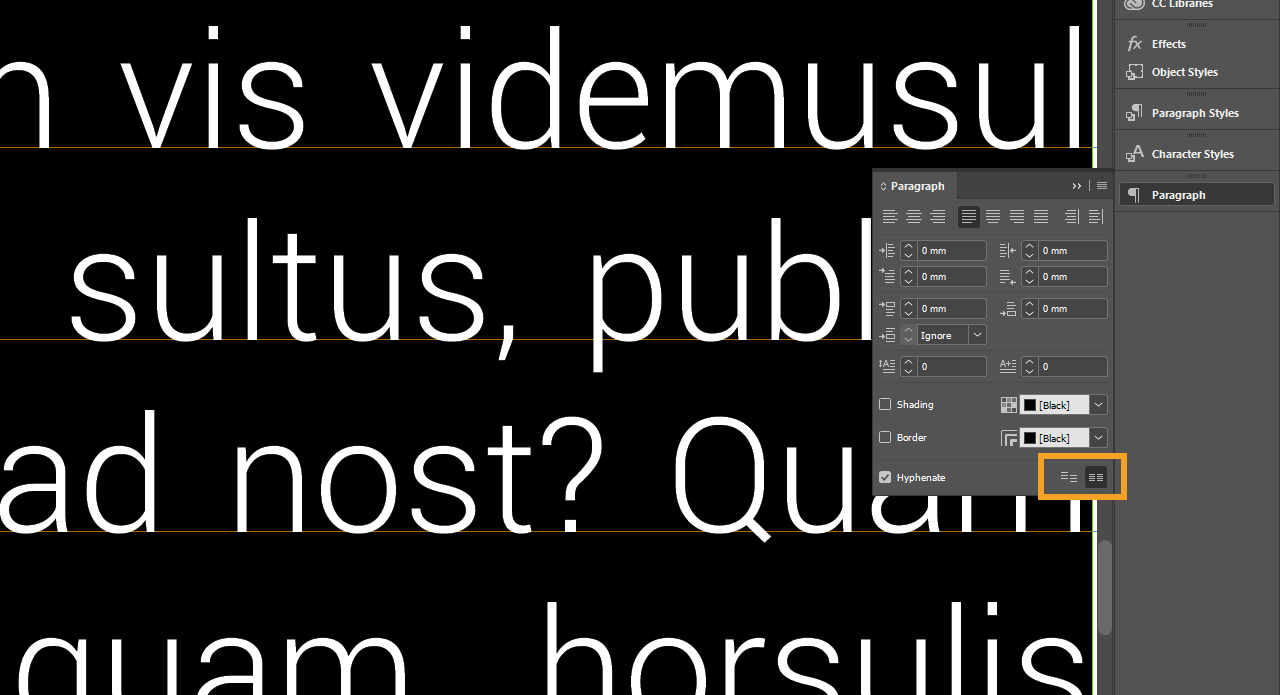
You see two alignment buttons in the lower right corner of the Paragraph panel. Click the right button to align your text to the baseline grid as defined previously.
Now if your text skips a row after this step, this means that the placeholder text was not formatted in advance.
In the example, we set the “Roboto Light” font in 10 pt and subsequently the text fits ideally into the baseline grid and is correctly aligned on all pages you have set up.

