
The Photoshop blur tools allow images to be edited professionally with just a few clicks. The effect creates a new mood in photos or shifts the focus to a certain area. As a result, you don’t need expensive camera equipment to take professionally looking photos. In this tutorial, you will learn how to apply the Gaussian blur to backgrounds to put the subject in the foreground into greater focus.
Ideally, you choose the right aperture settings already while taking the photo to shift the image focus to a specific area. However, this is impossible in some cases because the light conditions are suboptimal or you don’t have the proper equipment and use your smartphone or compact camera, for example. Editing your image with a Photoshop blur significantly enhances your image. For this purpose, the Adobe program provides the Gaussian blur filter which allows blurring an image realistically without a lot of settings.
Photoshop blur filters – an overview
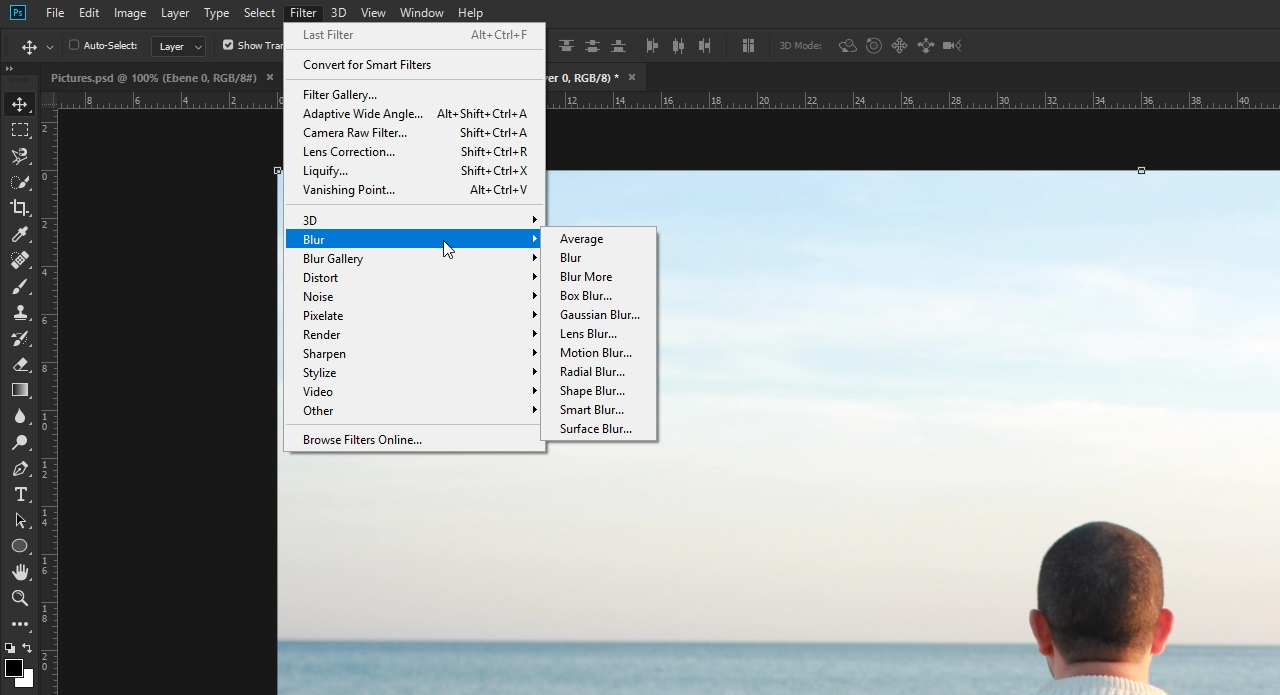
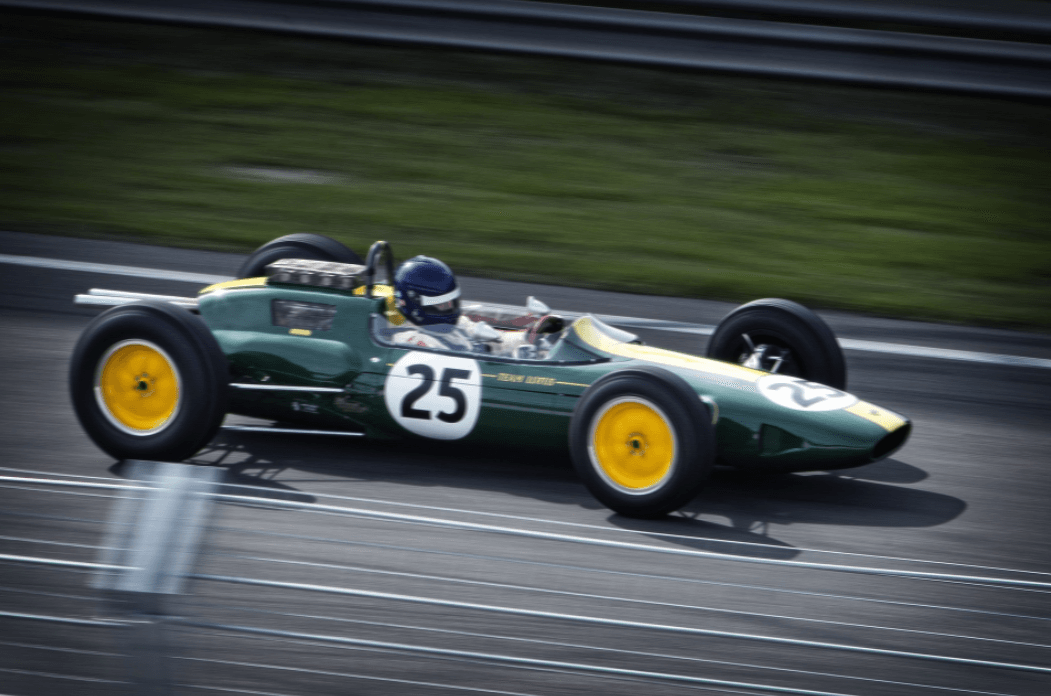
Adobe provides various Photoshop blur functions (Filter > Blur Gallery) to edit images. These blur filters simulate movement or manipulate the light incidence, for example. Simulating movement using a blur filter can be helpful for vehicle subjects to make the images appear less static. We applied the Motion Blur to the following image.
Other filters such as the Tilt-Shift or the Iris Blur filter enable you to put the focus on a specific part of the image. However, these filters already specify certain shapes and cut-outs of the area to be blurred. They are therefore better suited for regular shapes. To access the filters, choose the Filter menu item in the Blur Gallery.
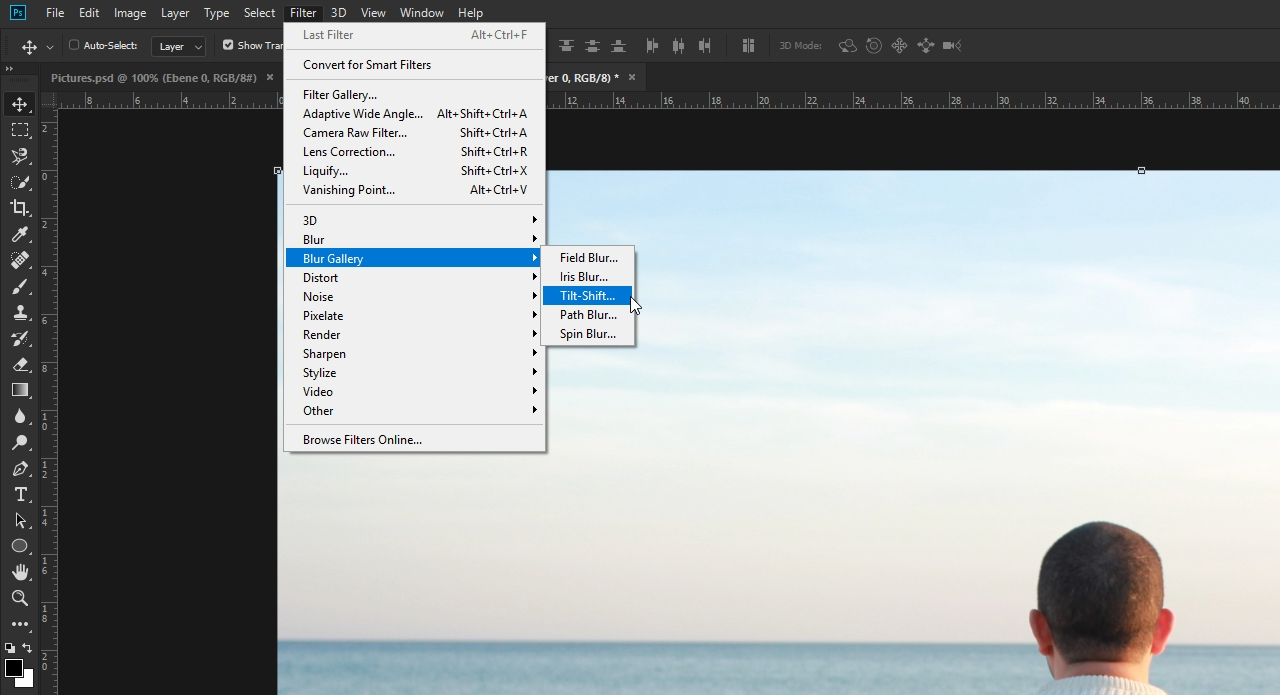
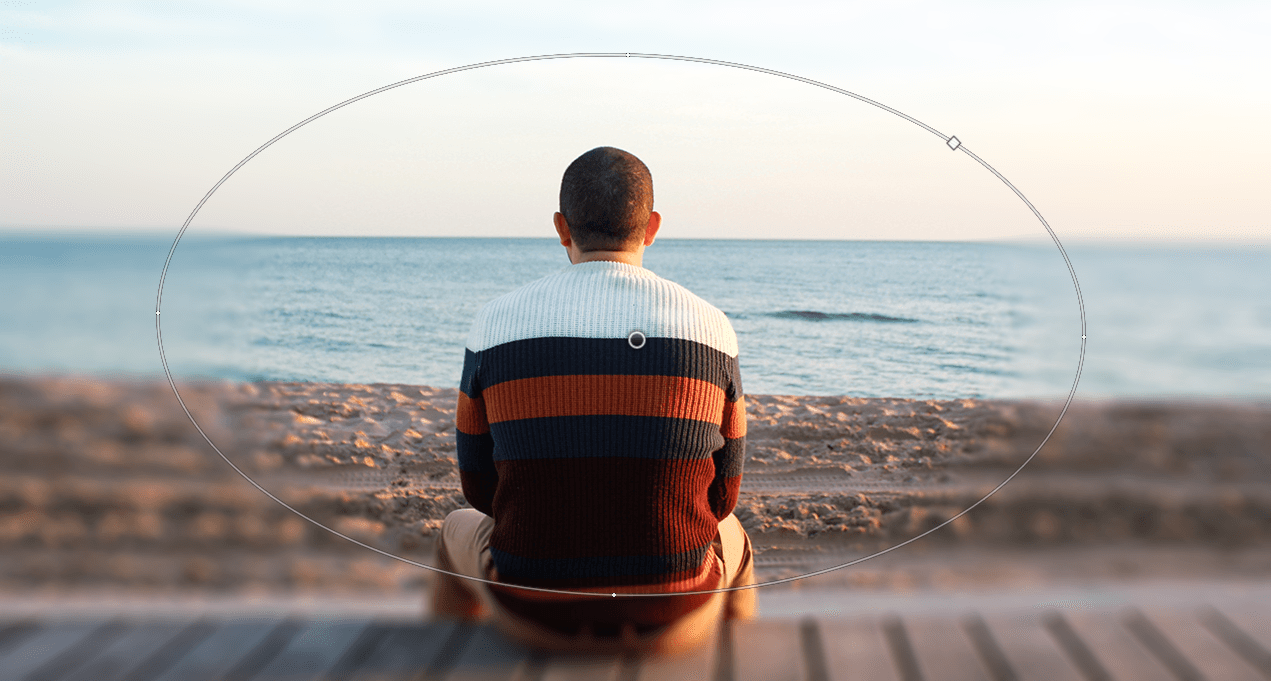
It is easy to exclude round image details – as shown in the next photo – from being blurred with the Lens Blur effect. Equally, you can select a specific area to be excluded with the Tilt-Shift filter as the image with the linear blurring shows.
The Gaussian Blur provides the most setting and adjustment options; you can set the image focus in any way you like and edit it in detail. The Gaussian Blur is a good choice to blur the background, especially for more complex shapes such as a person’s silhouette. This is because this filter is relatively straightforward compared to other filters as it evenly blurs the entire area giving users the most freedom.
A standard approach to complex shapes is to separate the area to be put into focus first (usually the foreground) from the rest of the image (usually the background) and then apply the blur.
Step 1: Separating the foreground from the background and cutting it out
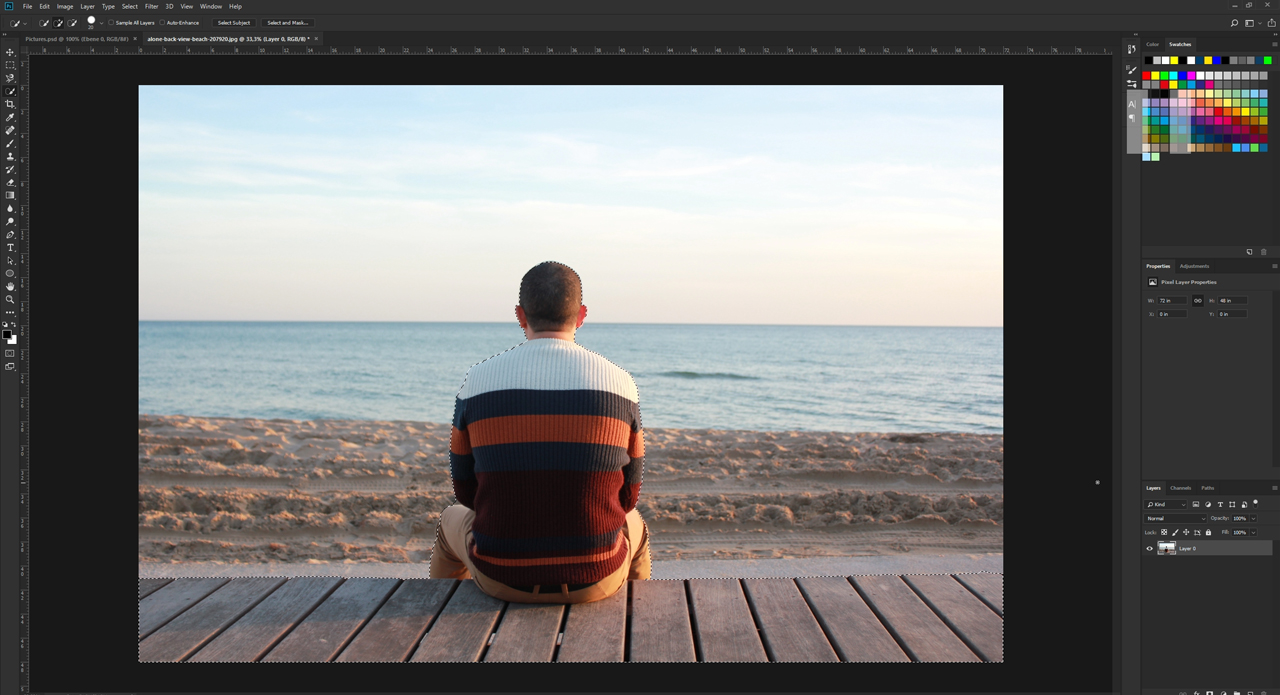
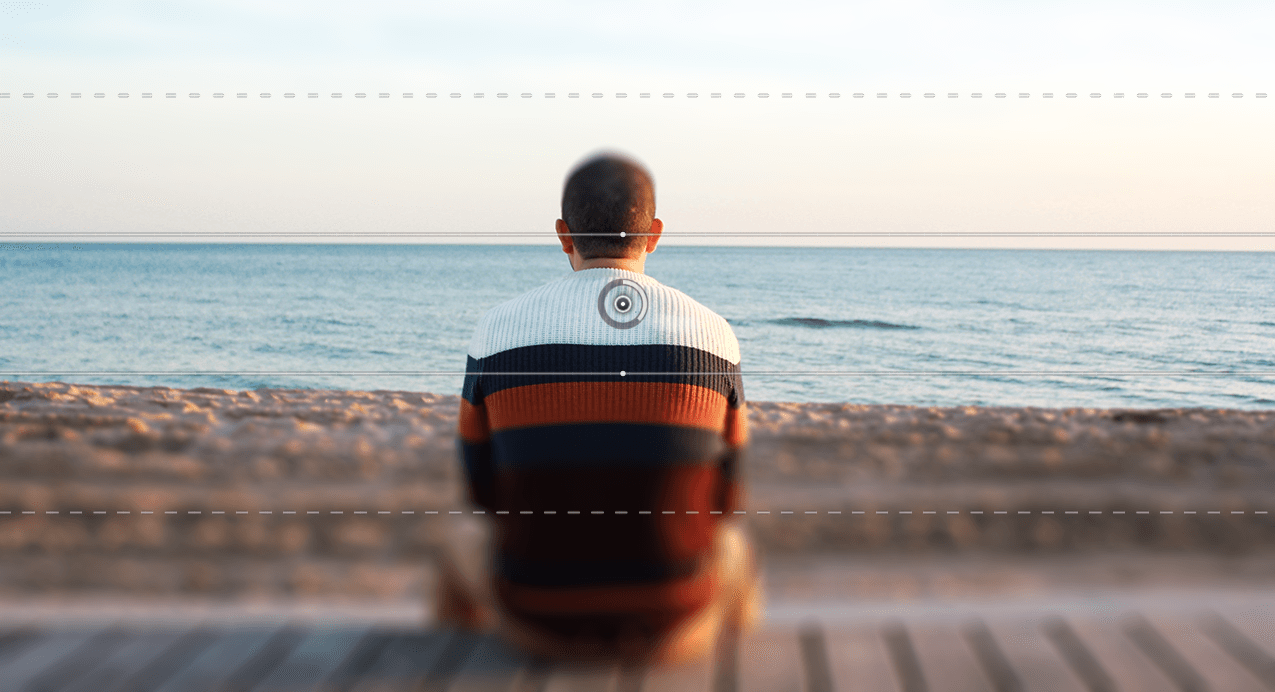
In this demo project, we want to increase the focus on the person looking out over the sea. To achieve this, we have to blur the beach and the sea. We want the person and the patio to remain in focus. So we have to isolate them from the background in the first step. Photoshop CC 2018 provides the new Select Subject feature.
To apply it, first click Select in the menu and then Subject. After a few seconds, Photoshop has made a selection around the person. To select the patio, too, choose the Quick Selection tool in the Tools panel. The Magic Wand tool is selected by default in the Tools panel. Click this tool and hold the left mouse button down for about a second to open a dropdown menu where you can enable the Quick Selection Tool. Holding the left mouse button down, you can now move over the areas to be added to your existing selection. If there is sufficient contrast, Photoshop will usually recognize the individual edges and make the selection a breeze. Should Photoshop select undesirable areas, simply undo the selection by holding the ALT key and the left mouse button down and moving over the unwanted area.
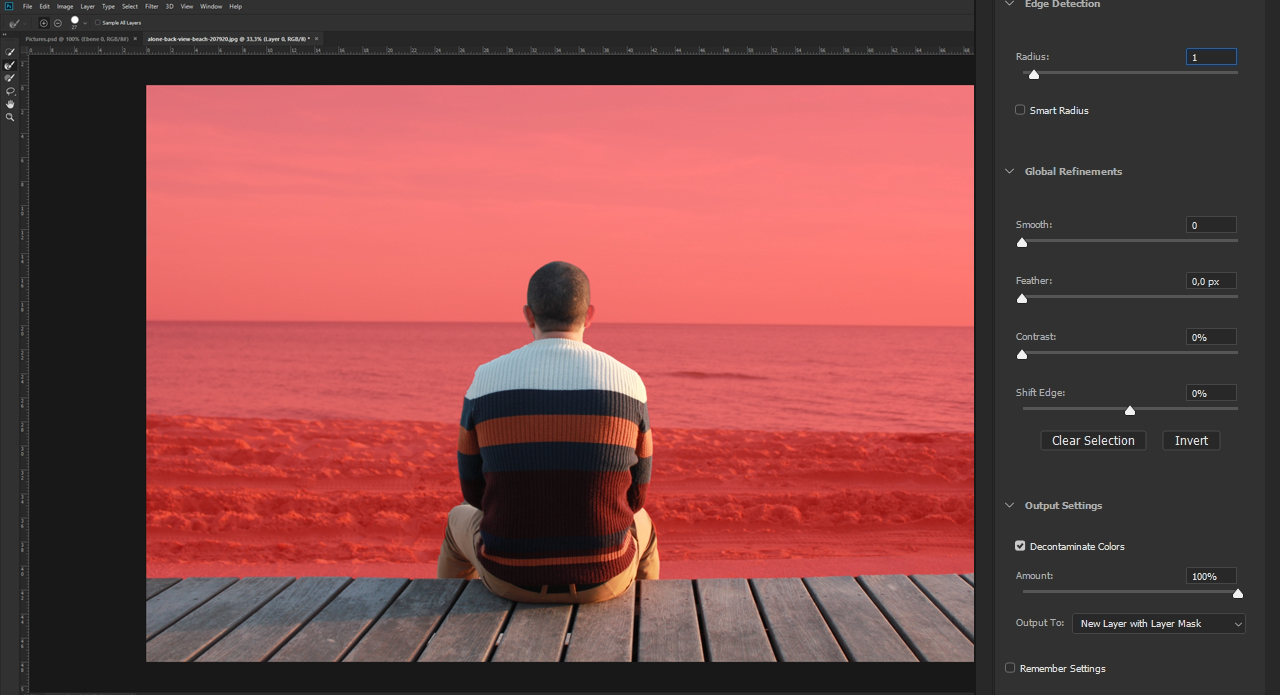
After you have selected all desired areas, choose the Select menu and click Select and Mask. Then apply a Smart Radius of one pixel in the dialogue box on the right and enable the Decontaminate Colours checkbox. These settings help Photoshop recognize the individual edges more effectively. Additionally, the checkmark causes a new layer to be created with a layer mask and the layer with the original image is hidden automatically. Click OK to close this window again. You have successfully isolated the foreground from the background.
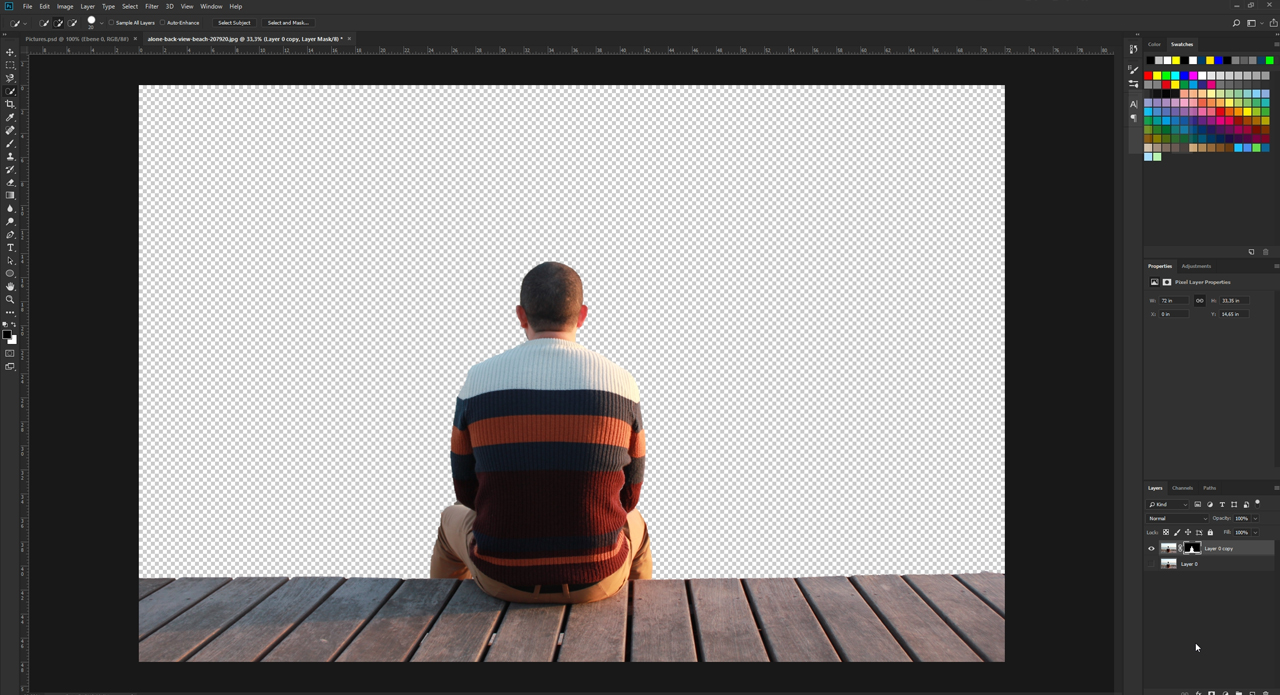
Step 2: Removing the foreground in the original image
Theoretically, you could show the layer that is currently still hidden again and blur it directly. But since the original image to be blurred still contains the foreground showing the person and the patio, they would be blurred as well. As a result, the outlines would shine unrealistically. Therefore, you have to remove the foreground first before starting to blur the background. We use the “Content-Aware Fill feature” in Photoshop.
To do so, first create a copy by right-clicking the original image and then hide the cut out layer with the layer mask for greater clarity. Next, select the Rectangular Marquee tool in the Tools panel.
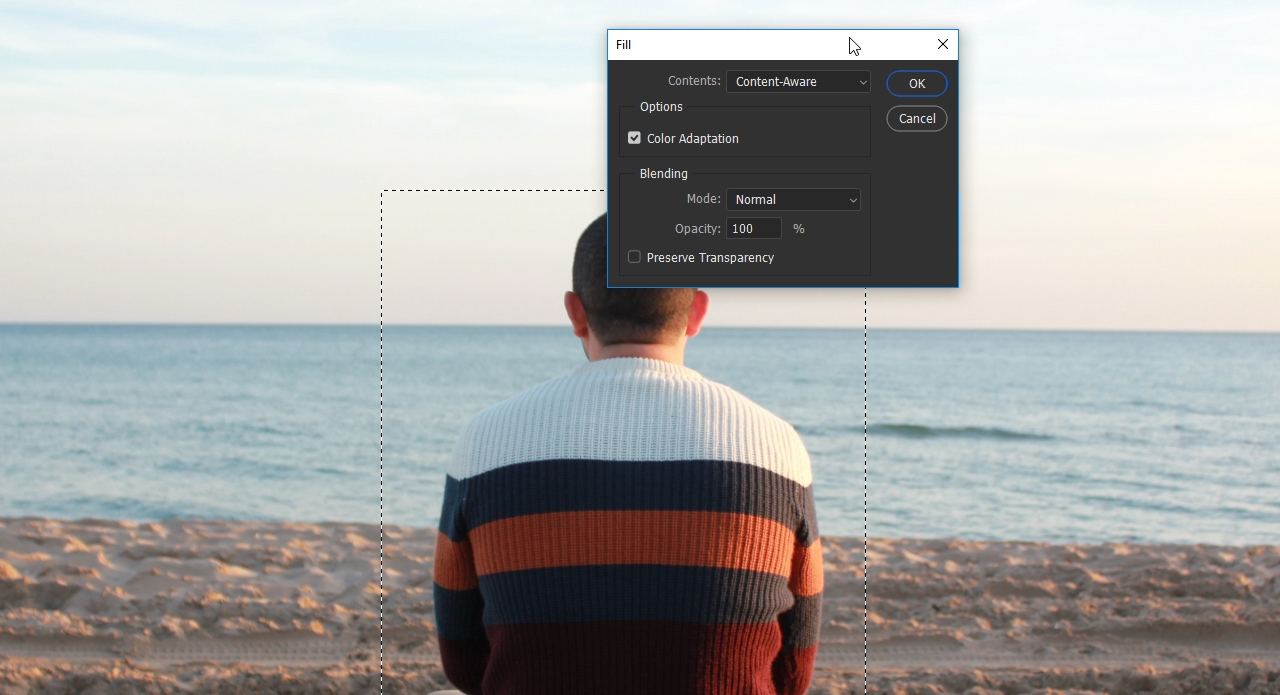
Subsequently, draw up a new selection around the person large enough to completely accommodate the person. Then click Edit in the menu and select Fill. In the dialogue box that opens, make sure that the Content Aware option is enabled under Contents. Click OK to close the dialogue and Photoshop automatically removes the person from the image. The image in the selection is then complemented with the image information of the beach and the sea.
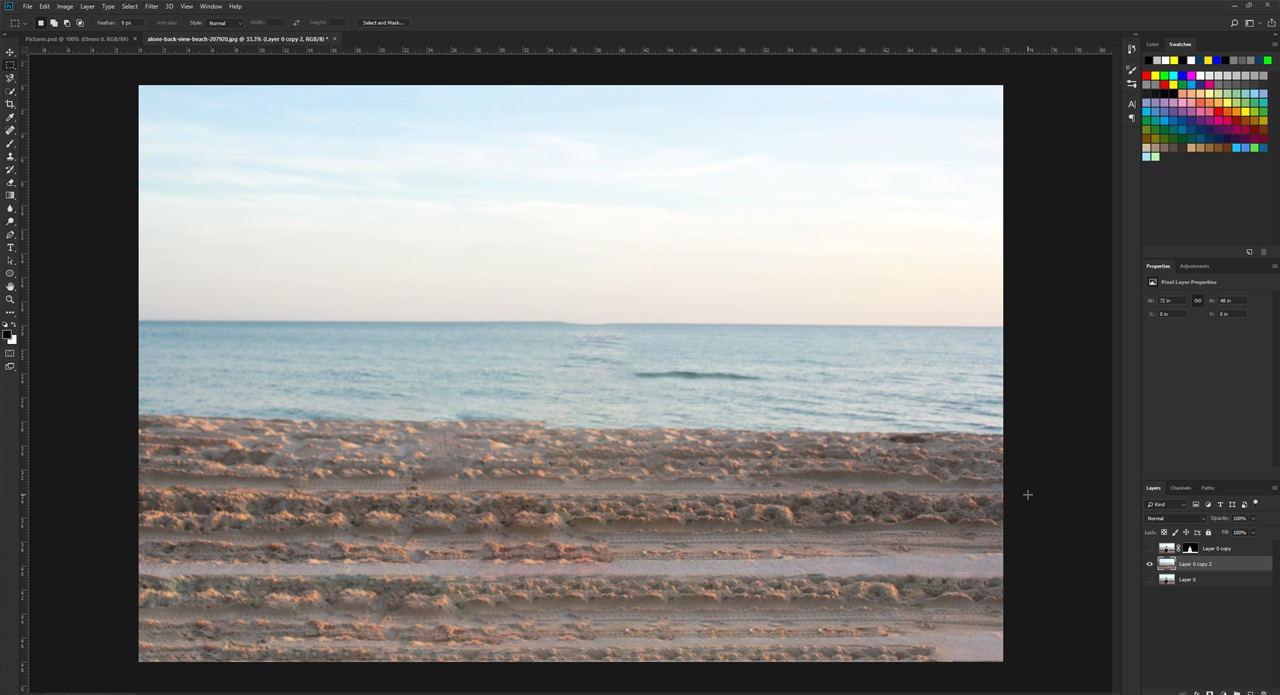
Repeat this step with the patio by creating a selection and applying the Fill option again. In some cases, the result may not look optimal. This is not a problem since this layer will be blurred in the next step and the removed foreground will be shown again. Thus, this section will not be visible in the finished image.
Step 3: Blur the background
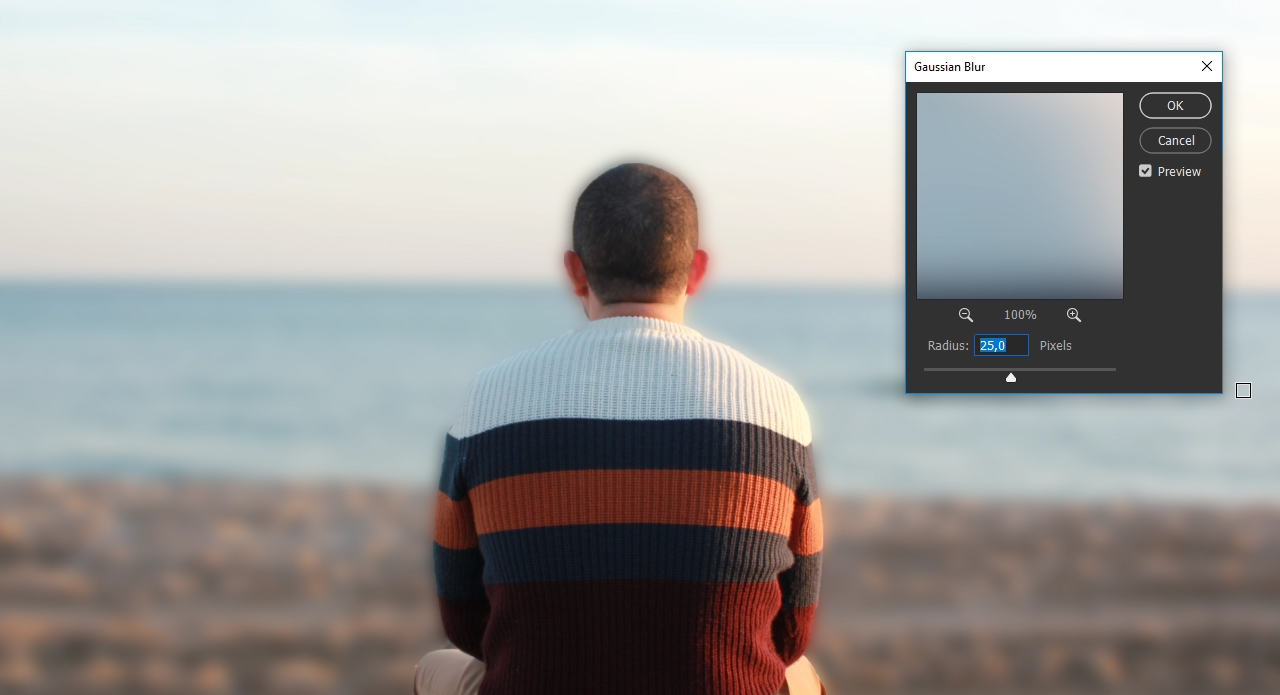
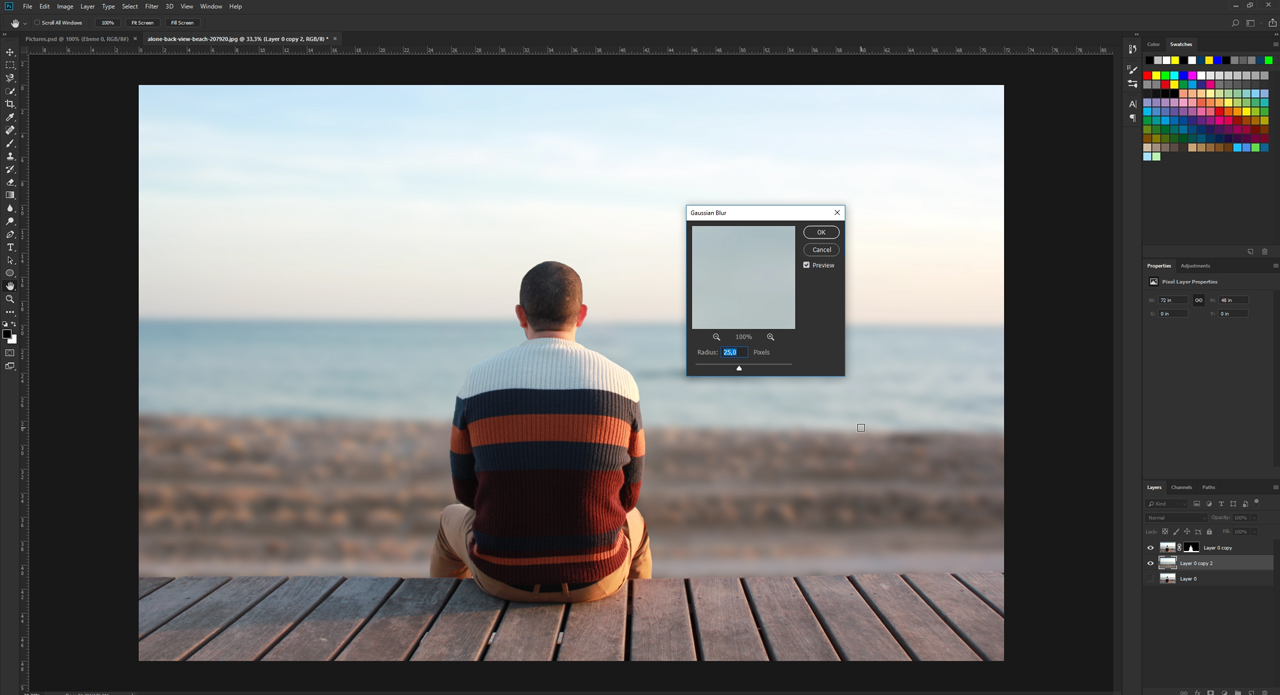
First, show the cut out layer with the layer mask again. Then click the original layer from which you previously removed the foreground and click Filter > Blur Gallery and then Gaussian Blur. A dialogue box opens in which you can adjust the intensity of the blur effect using a slider. The value should not be too high or else the image will look unrealistic. You may want to enable the Preview to immediately see the effect of your changes. In the example, we set a value of 25 pixels and close the dialogue box with OK.
You now see the final result with the image focus clearly on the person. As you have noticed, using the Gaussian Blur filter is very easy. The preparation and cutting out of the foreground and the background requires more effort.
Credits:
Tutorial and design by Christoph Ullrich, media designer.

