
A popular Photoshop function is to adjust or replace colours as needed with a few clicks. Often, this requires cutting out a certain image area first. In our tutorial, we will demonstrate three methods of replacing colour that don’t require cutting out an image area.
Replacing colours in Photoshop without cutting out
Like many other Photoshop functions, there are different ways to replace colours. If you want to avoid cutting out the image area first, you have to decide which method is best suited for a given subject. So look at your picture as a whole. Does the area whose colour you wish to replace contrast starkly with the background or is it similar to the background colour? In both cases, Photoshop provides the matching tools to replace certain colours without cutting out the subject.
Example 1 – Changing the colour of the car
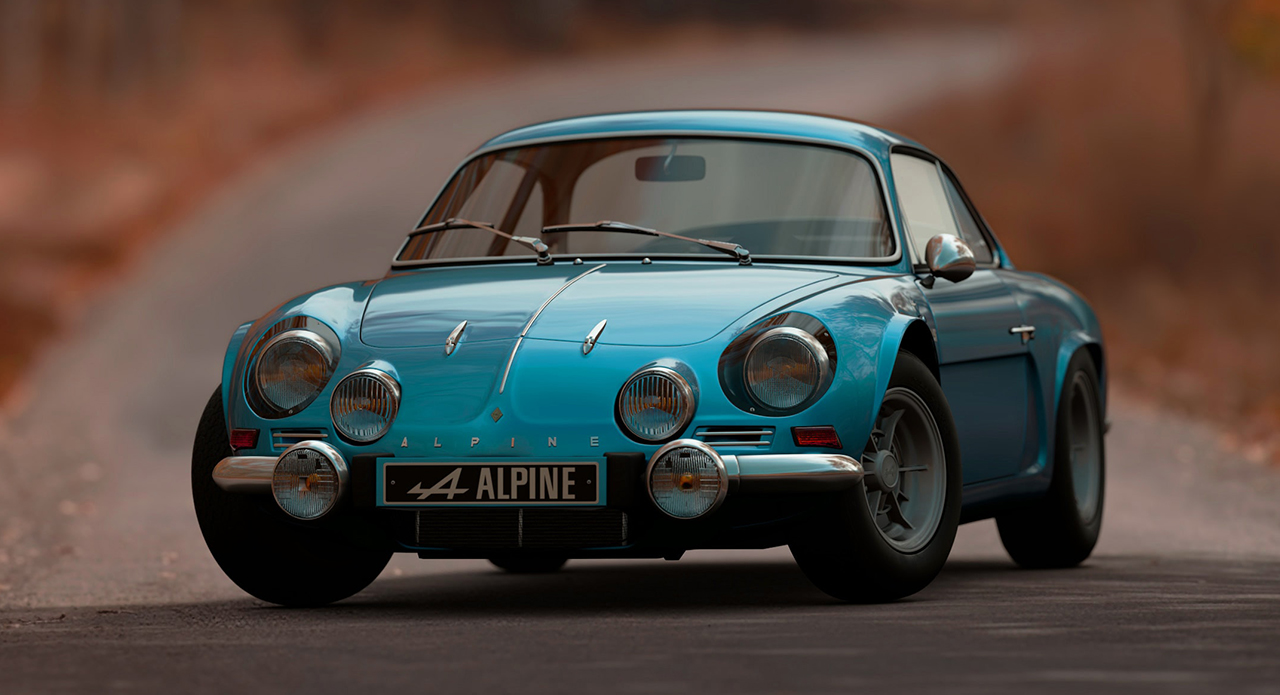
In the first example, we want to replace the colour of the car. The focus is on the car which stands out clearly against the autumn background. These are ideal preconditions for replacing the colour using the hue and saturation adjustment: Go to the Adjustments panel and choose Hue/Saturation.
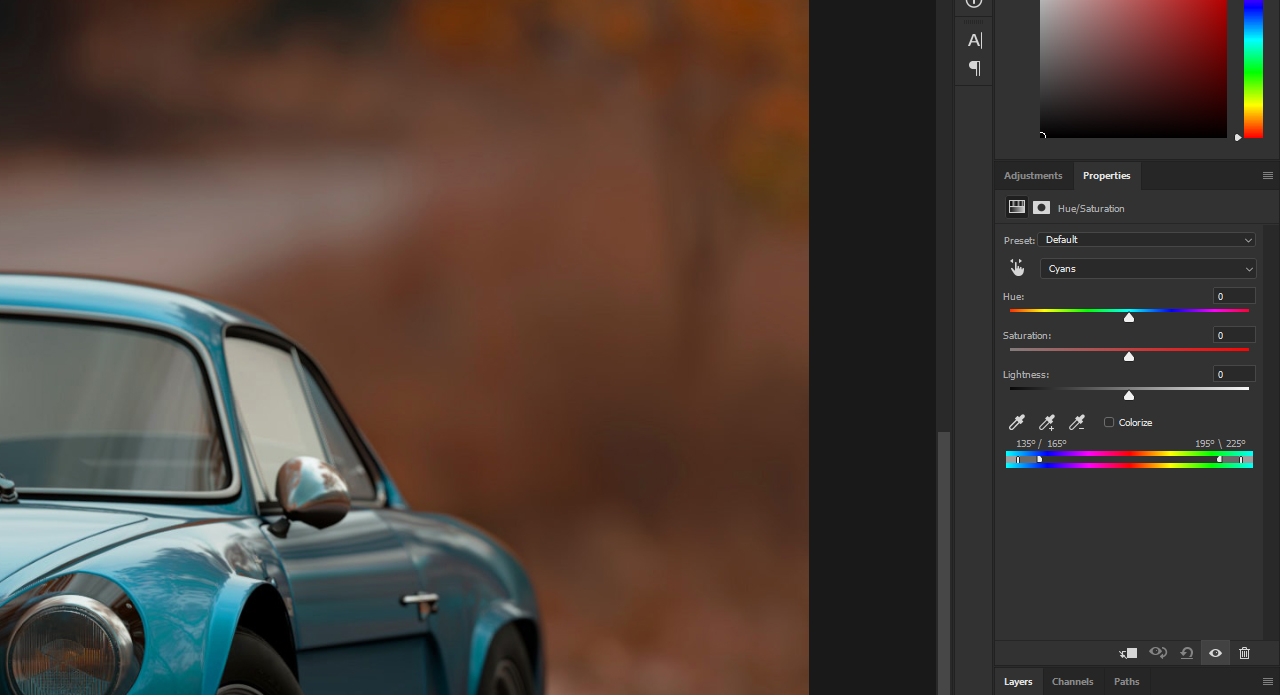
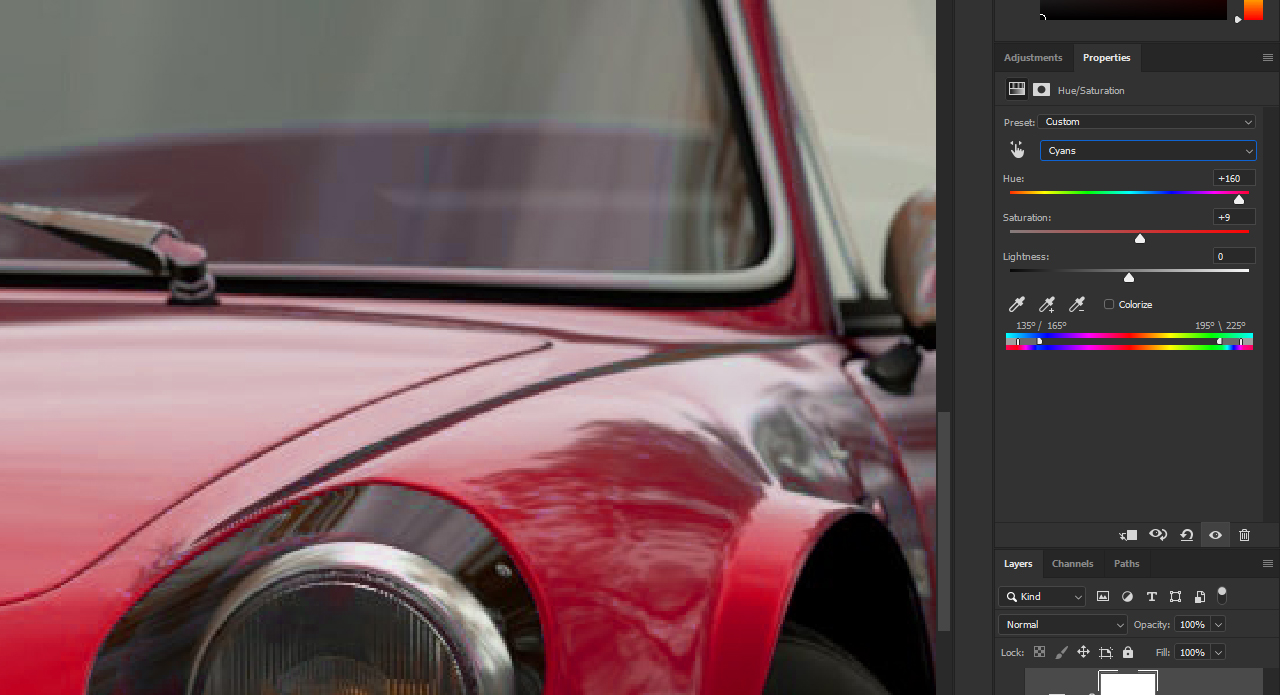
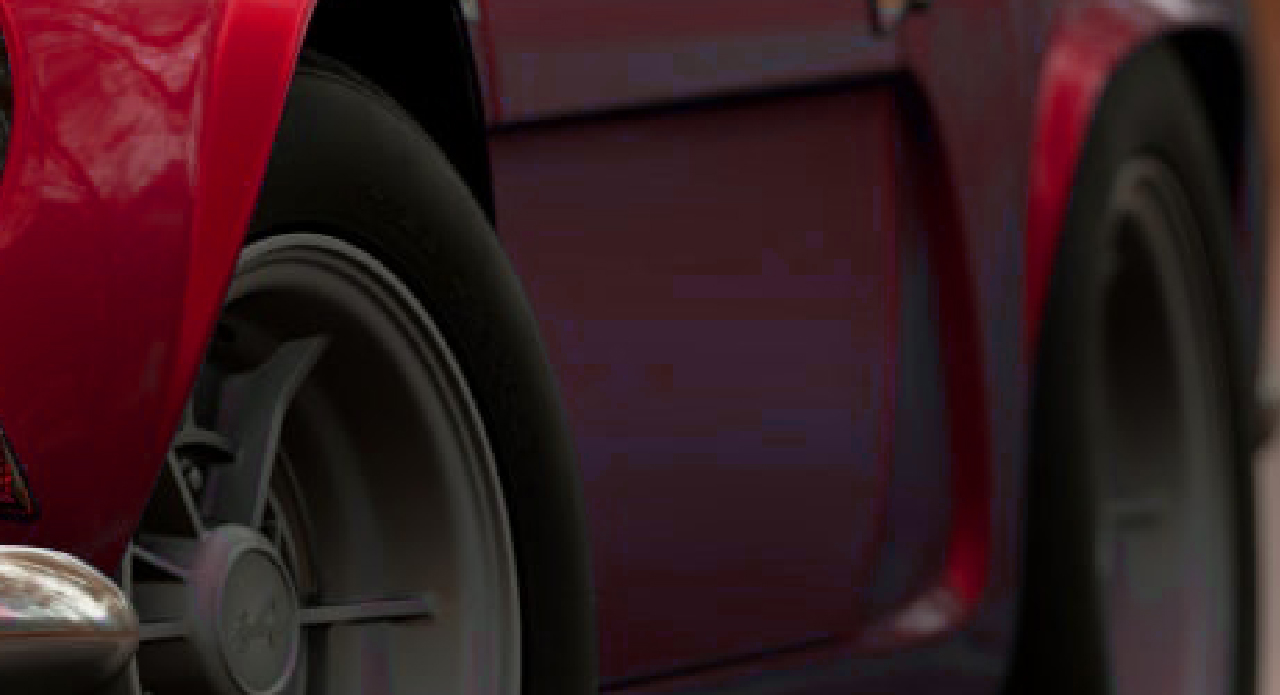
The car is a vibrant cyan, so you can choose this as the colour channel to change. Then move the Hue slider to replace the colour based on your setting. In the example, we choose a red to match the autumn mood of the picture.
It can happen that not all colours are replaced correctly despite selecting the cyan hue. To remedy this, use the bottommost slider on the Hue/Saturation panel to extend the range of colours.
Click the slider and drag it slightly to the right to extend the range of colours.
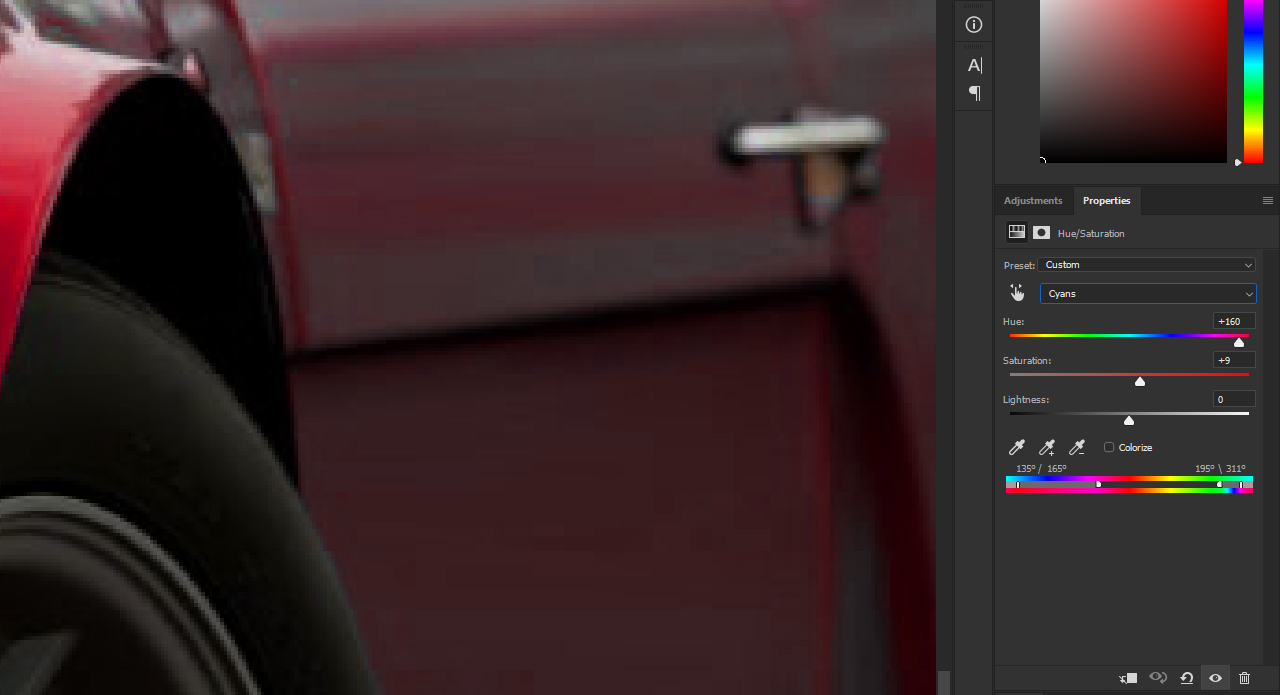
Avoid dragging the slider too far as otherwise the colour of the rest of the picture will start to change as well from a certain point on.
Example 2 – Colouring balloons using the Color Replacement tool

We want to replace the colour of one of the blue balloons in the example. Because the background is of a similar blue as the balloon, the Hue/Saturation Adjustment will not yield the desired outcome in this case. The Color Replacement tool, however, is up to the task. To open it, click and hold the Brush tool in the toolbar and choose the Color Replacement tool from the dropdown menu.
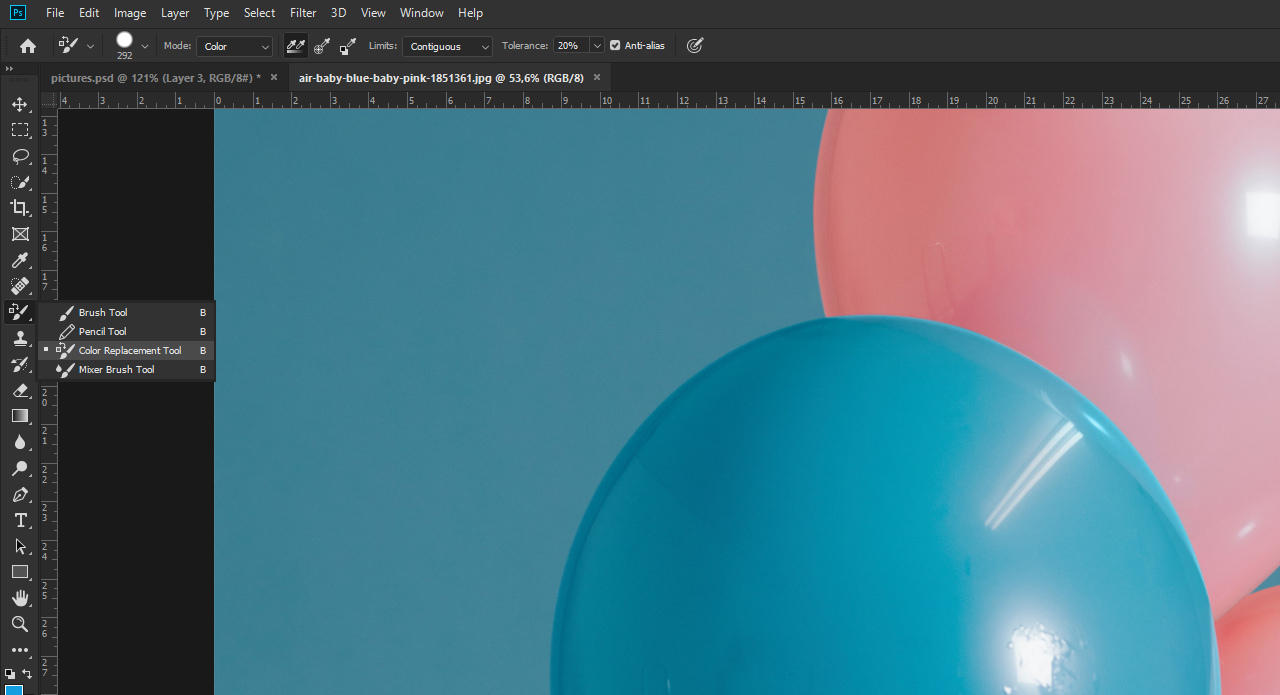
Then define a new foreground colour, a light green for example. In the options bar, you can make various settings to define how the Color Replacement tool will deal with the original colour. Since there is relatively little contrast between the background and the balloon, we set the Tolerance to 20 percent.
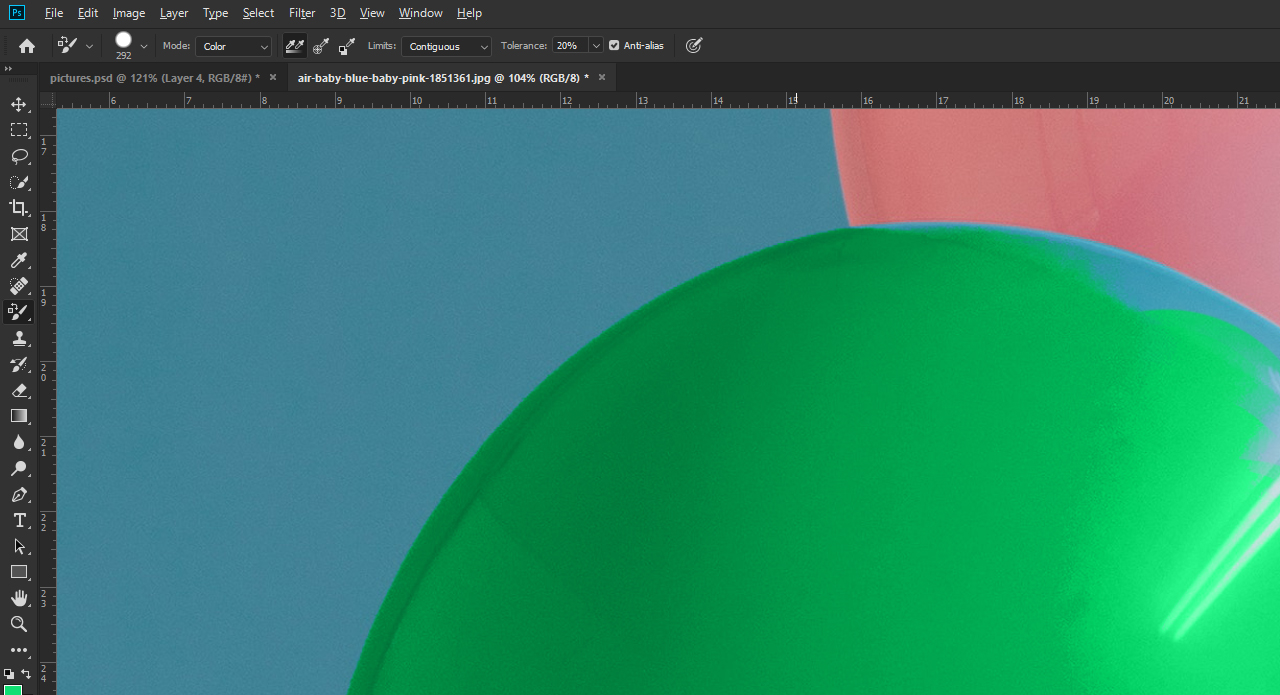
Now you can paint over the balloon with the green colour selected previously using the Brush tool. It doesn’t matter if you paint over the edge of the balloon because Photoshop recognises the edge of the object and colours just the object. But make sure that the small crosshair of the brush stays inside the area to be coloured. This is because Photoshop continuously samples the colour that is directly under the crosshair in the center of the cursor.
Tip: If you paint over the edge by mistake, you have to undo the last step by pressing Ctrl+Z. To avoid this, it can help to release the left mouse button repeatedly and then continue painting.
Example 3 – Adjusting eye colour with a few clicks
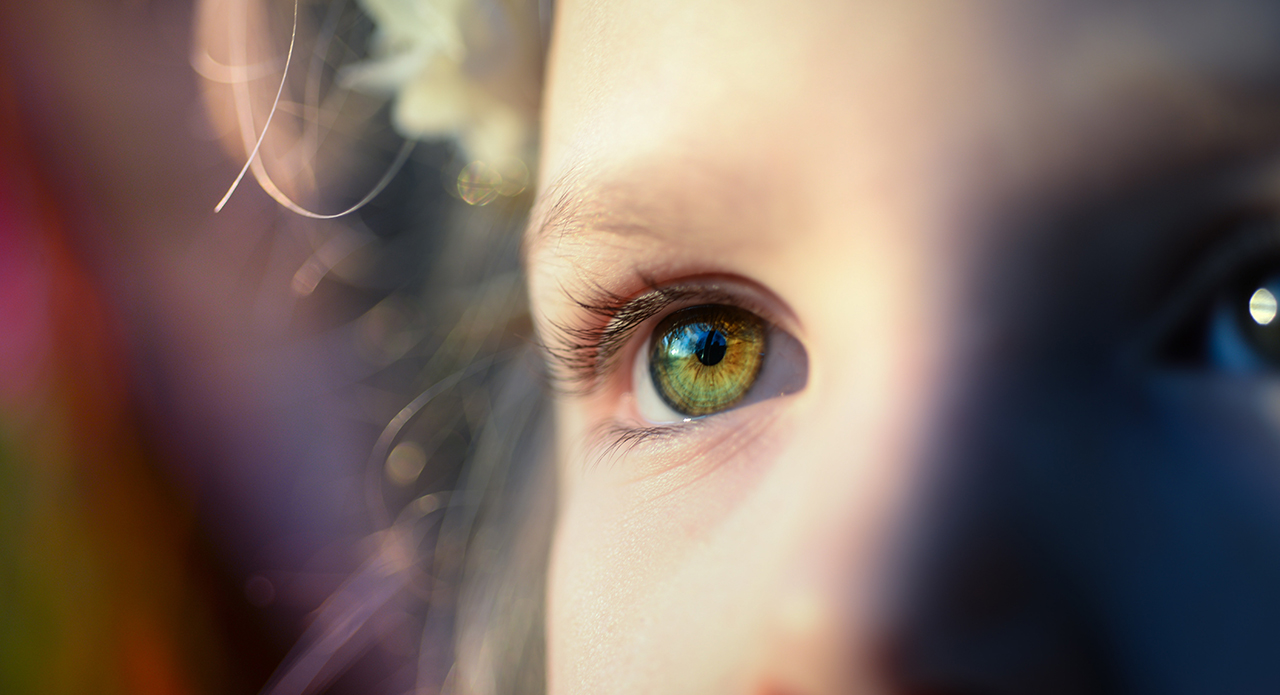
Changing eye colour is a typical application of colour replacement. To accomplish this without cutting out first, you can use the Brush tool to directly colour the area in question. For this purpose, first create a new layer in the Layers panel and set the Blending Mode to “Color”.
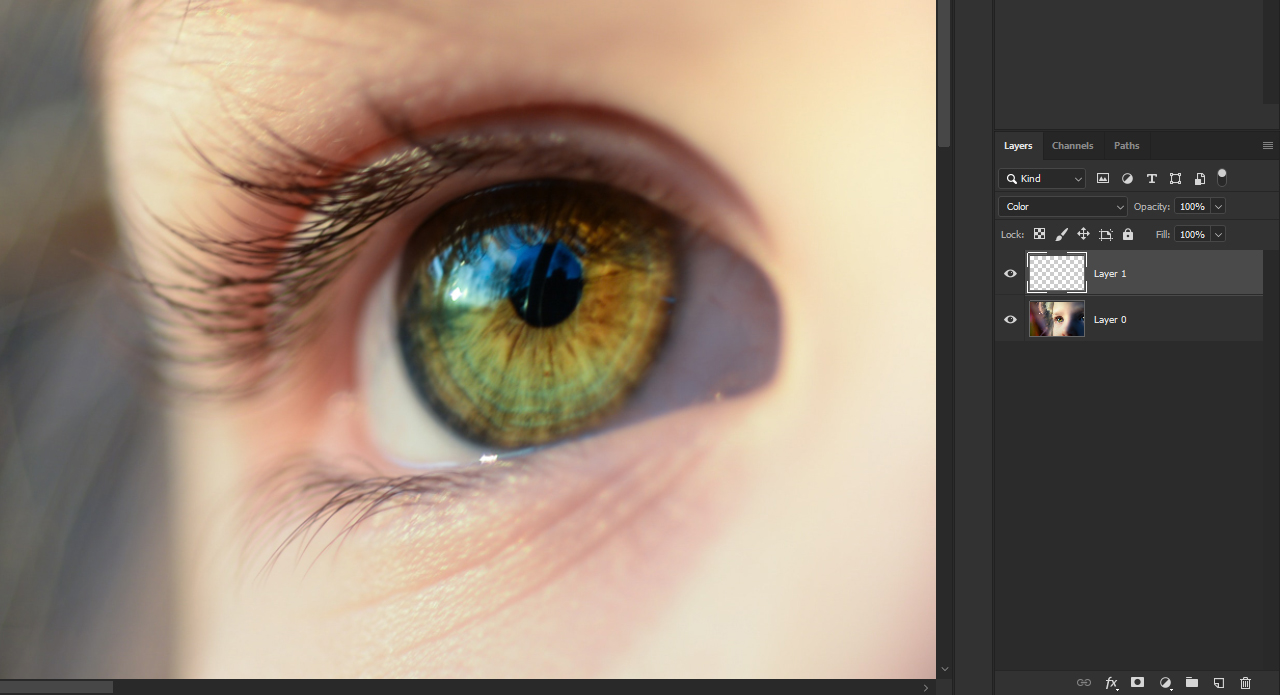
Next choose the brush with a low hardness. To save time, hold down Alt and the right mouse button to adjust both the hardness and the size of the brush. Move the mouse up and down while pressing the keys to make the brush harder or softer. Move it to the left or right to change the brush size. If you have found a setting you like, paint over the area in question.
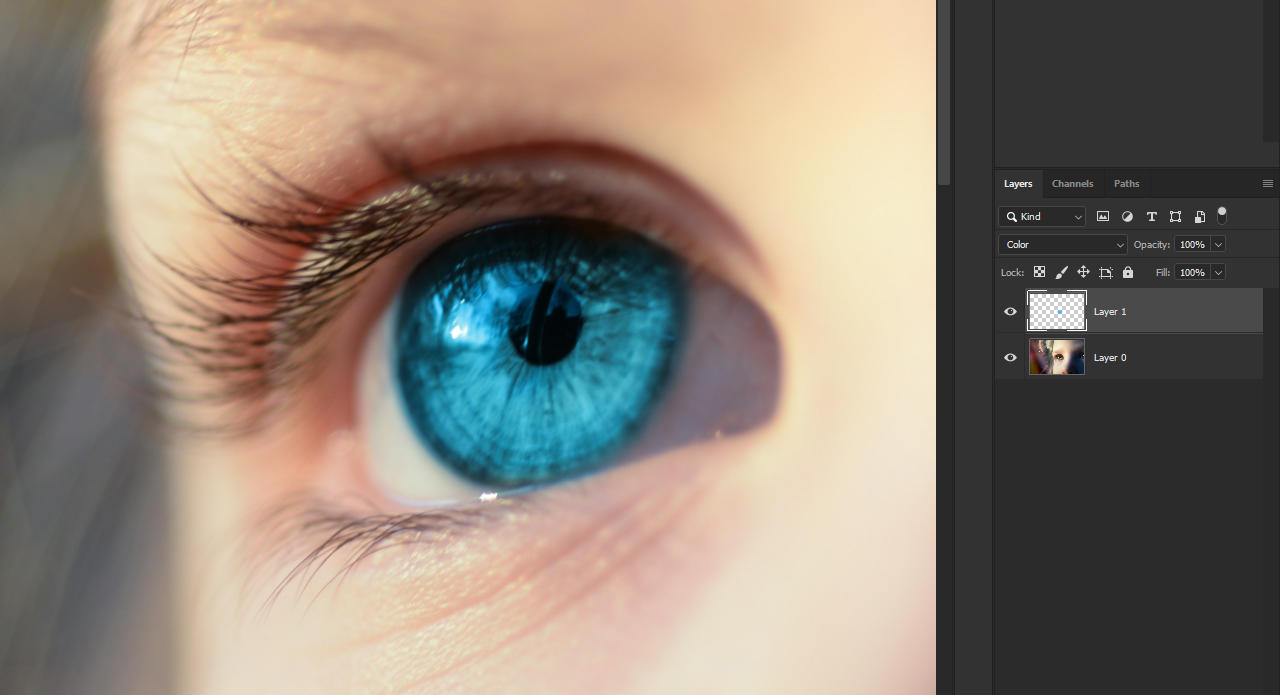
Tip: Avoid painting over the edge. If you accidentally paint over the edge, you can undo the last step via Ctrl+Z or use the eraser to remove the area in question.
Photo credits:
ALEXGTACAR (via Pexels), Rawpixel (via Pixabay), Skitterphoto (via Pixabay)

