
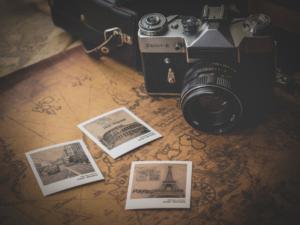
Often an unintended effect caused by lens limitations, vignetting can be created deliberately in a graphics editor to draw the eye to the centre of the picture and add a special effect. The image’s brightness decreases toward the periphery which results in an antique style reminiscent of old photographs. In this tutorial, we will show you how to create a vignette in Photoshop quickly and easily and which effects you can implement with the technique.
A vignette is a decrease in brightness of a photograph towards its edges compared to the image centre. Vignetting is often an undesired effect caused by camera settings that are not suitable for the given light situation. However, the effect can also be added subsequently to create noticeable changes in the picture’s mood and perception by making subtle changes only.
How does a vignette change the mood of a photograph?

Adds a vintage effect to photos
Use vignetting to create retro style photos and graphics. The darker edges are characteristic of old photographs and add vintage charm. Choose a suitable subject such as an old record player or a vintage car to create a compelling retro look.
 Focus on the centre of the image
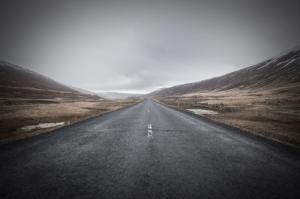
The dark edges give more emphasis to the centre of the photo and direct the viewer’s eye in a subtle but effective way. Accordingly, vignettes are great if you want to highlight a subject in the centre of the picture.
Creating dramatic effects
Depending on the colour mood and the subject of the photo, vignetting can produce a very dramatic effect. If you extremely darken the corners to focus the attention on the image centre, you create a spotlight effect which makes the subject appear dark or mysterious, for example. High image contrasts enhance this visual effect.
Step 1: Draw guides and define the image centre
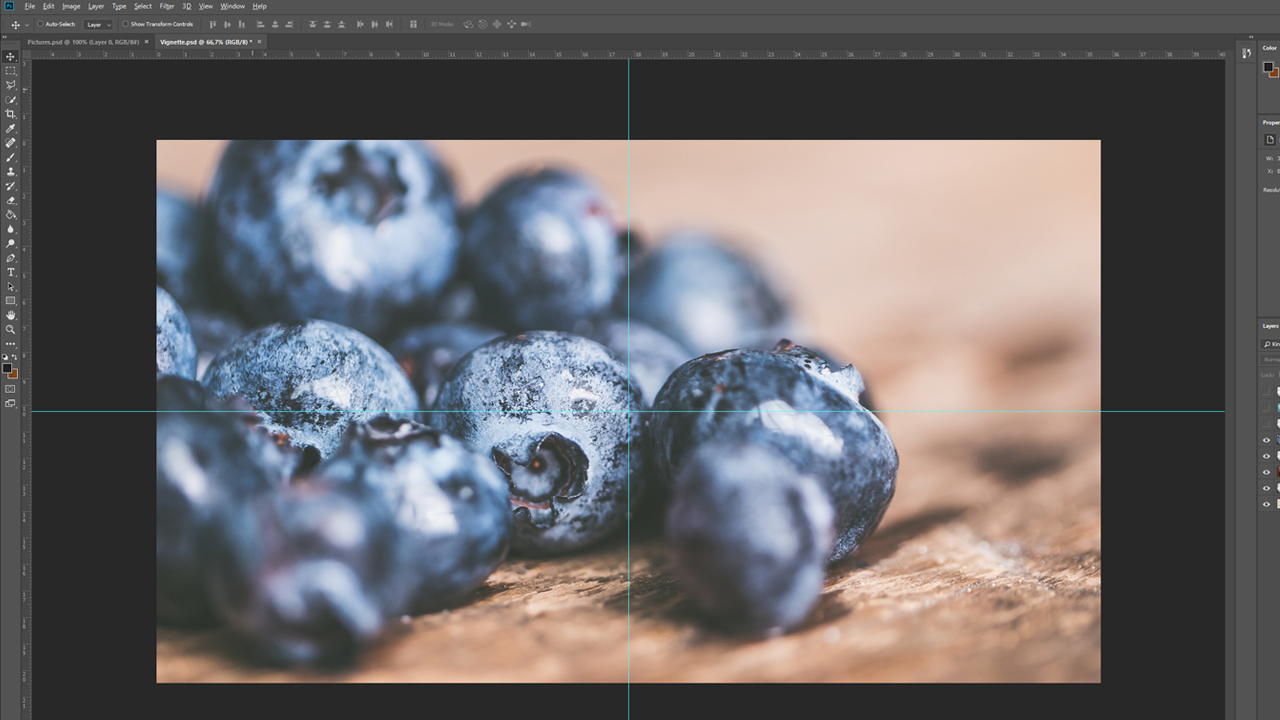
To create a vignette in Photoshop, open your image in the graphics editor. To facilitate creating the vignette effect, first drag a horizontal and a vertical guide to the middle of the image to determine the exact centre point. Once the guides reach the approximate image centre, Photoshop will automatically align to the exact image centre.
Use the shortcut CTRL + R to show a ruler in your working document. You can create any number of guides by holding the left mouse button down in this ruler and then dragging the mouse pointer to the canvas.
Step 2: Making an elliptical selection on a new layer
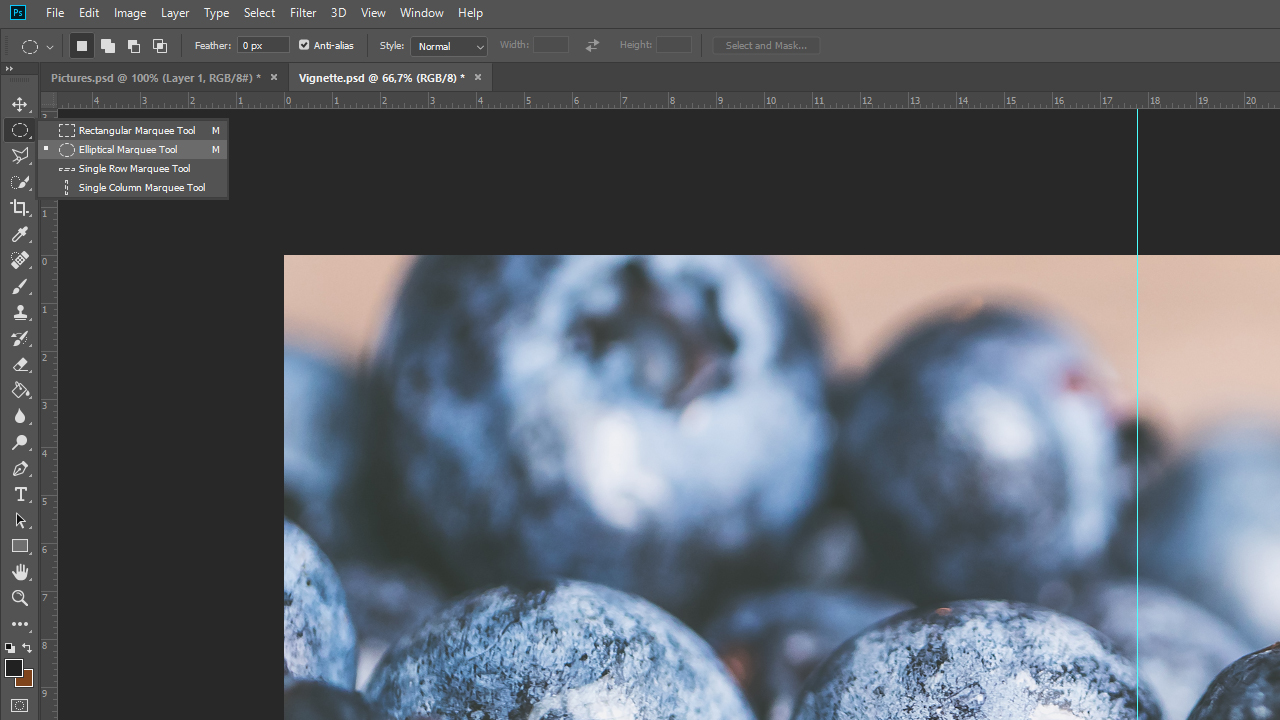
With the image centre known, choose the Elliptical Marquee Tool. The Rectangular Marquee Tool is activated by default. To access the Elliptical Marquee, click the Rectangular Marquee Tool, then hold your mouse button down until a drop-down menu appears in which you can select the Elliptical Marquee Tool.
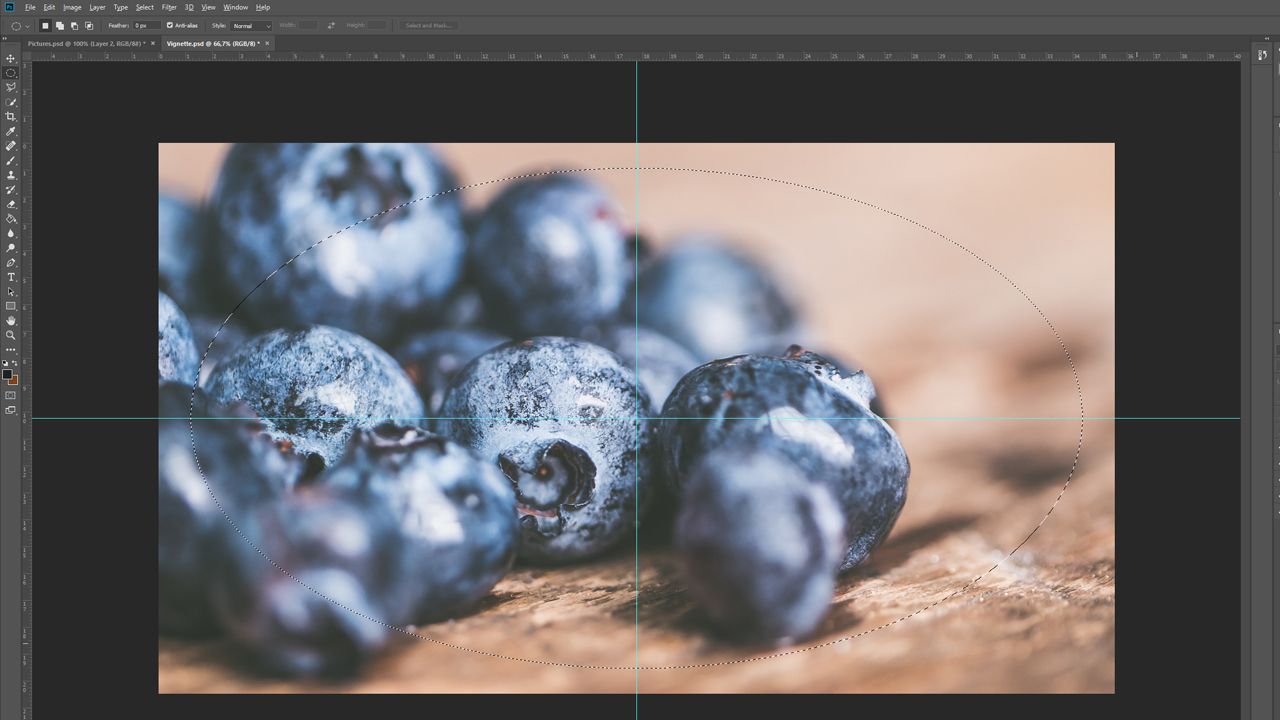
Now create a new layer and move the mouse pointer to the centre of the image on this layer. Press and hold the ALT key, draw an oval selection starting from the previously defined centre point holding the left mouse button down. By pressing the ALT key, the elliptical selection is drawn around the selected starting point. Make the selection to fill nearly the entire image.
Step 3: Invert the selection
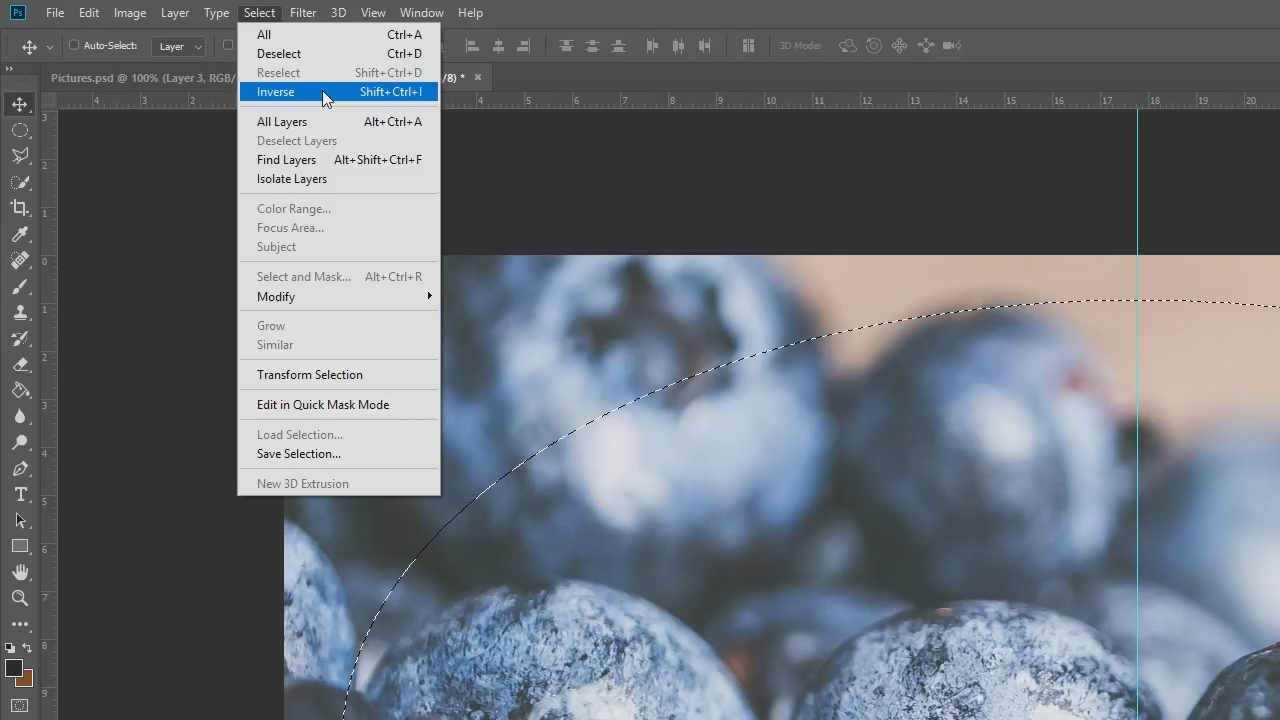
You have applied an elliptical selection to the image centre. But you want to apply vignetting to the edges and not to the centre. So you need to invert the selection. To do so, click Select > Invert. You now see the selection as a dotted line outside the oval.
Step 4: Fill selection and apply blur filter
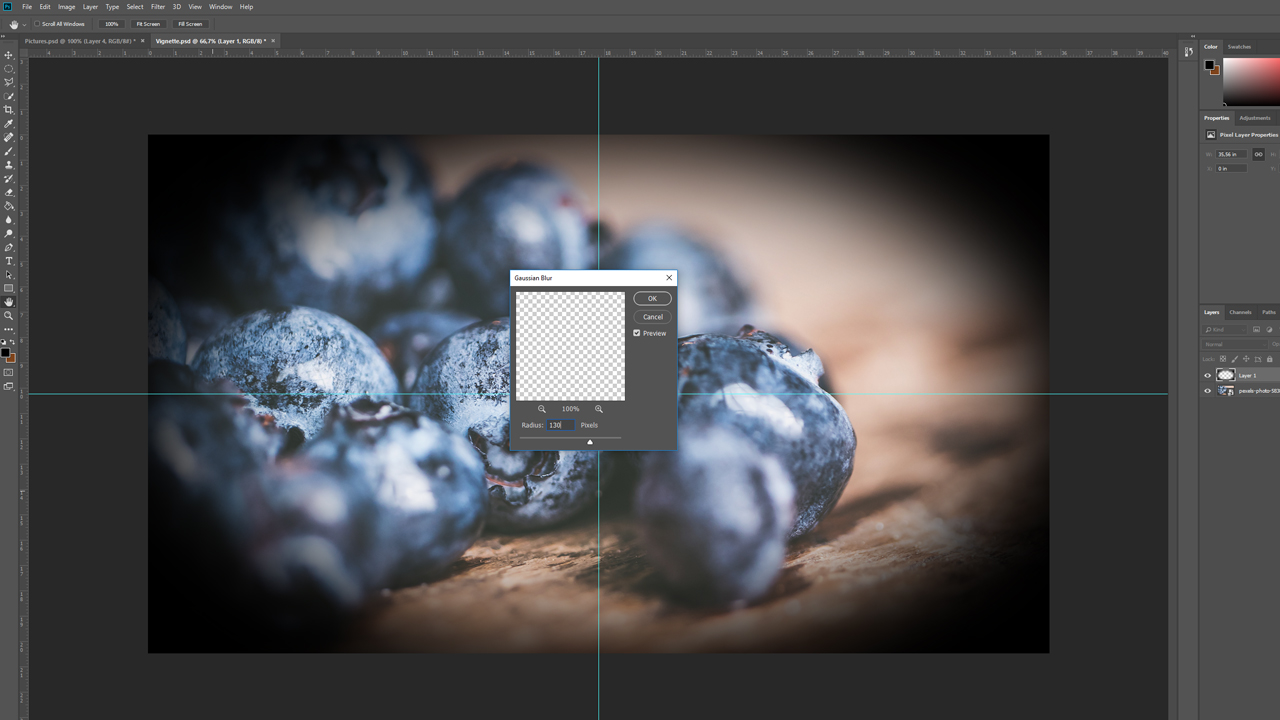
Next set the foreground colour to black and fill the selected peripheral area with this colour using the Fill Tool. You can cancel the selection again by using the shortcut CTRL + D. To soften the resulting black edge, you need to blur it. To do so, click Filter > Blur > Gaussian Blur . How much you want to blur the edge depends on your own preferences and the desired image effect. In the example, we used a setting of 130 pixels.
Step 5: Adjust the opacity
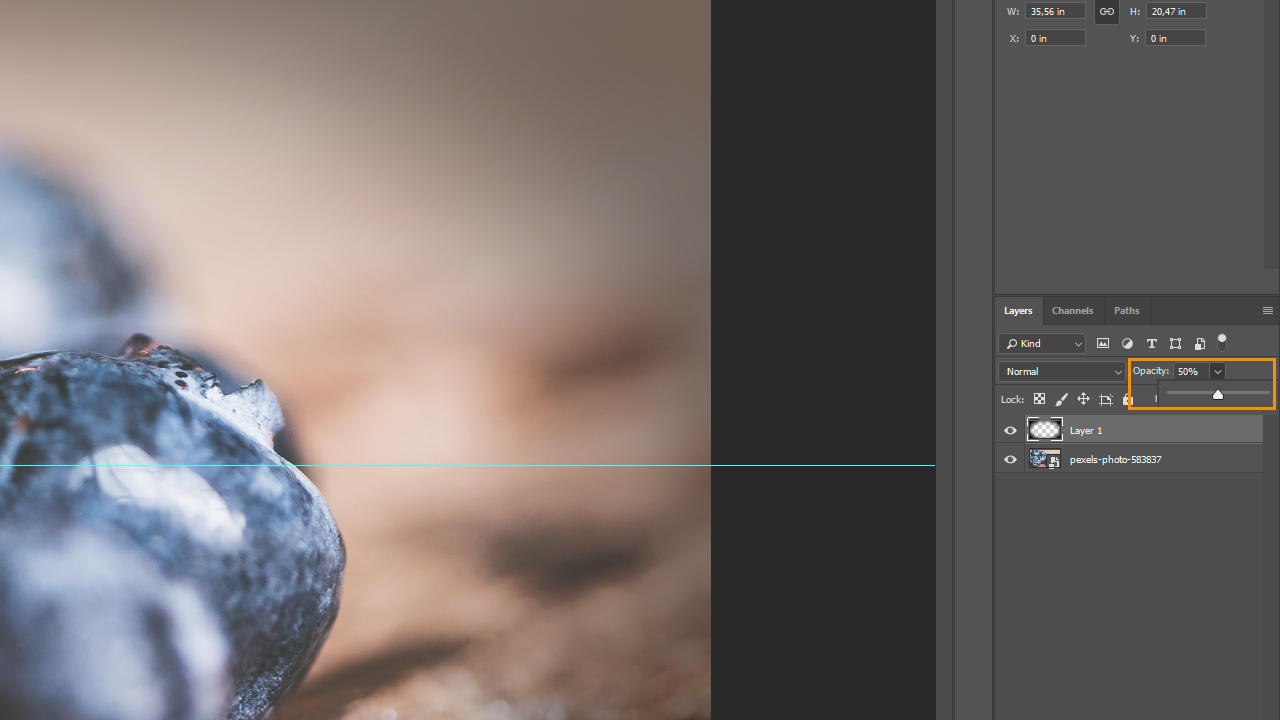
Your Photoshop vignette is now visible with the edges blurred. Depending on the image effect you want to create, you can now adjust the vignette opacity in the opacity settings located in the bottom right of the menu above the layer display. In our example, the opacity is reduced to 50 percent.
Creating a vignette with the Google Nik Collection
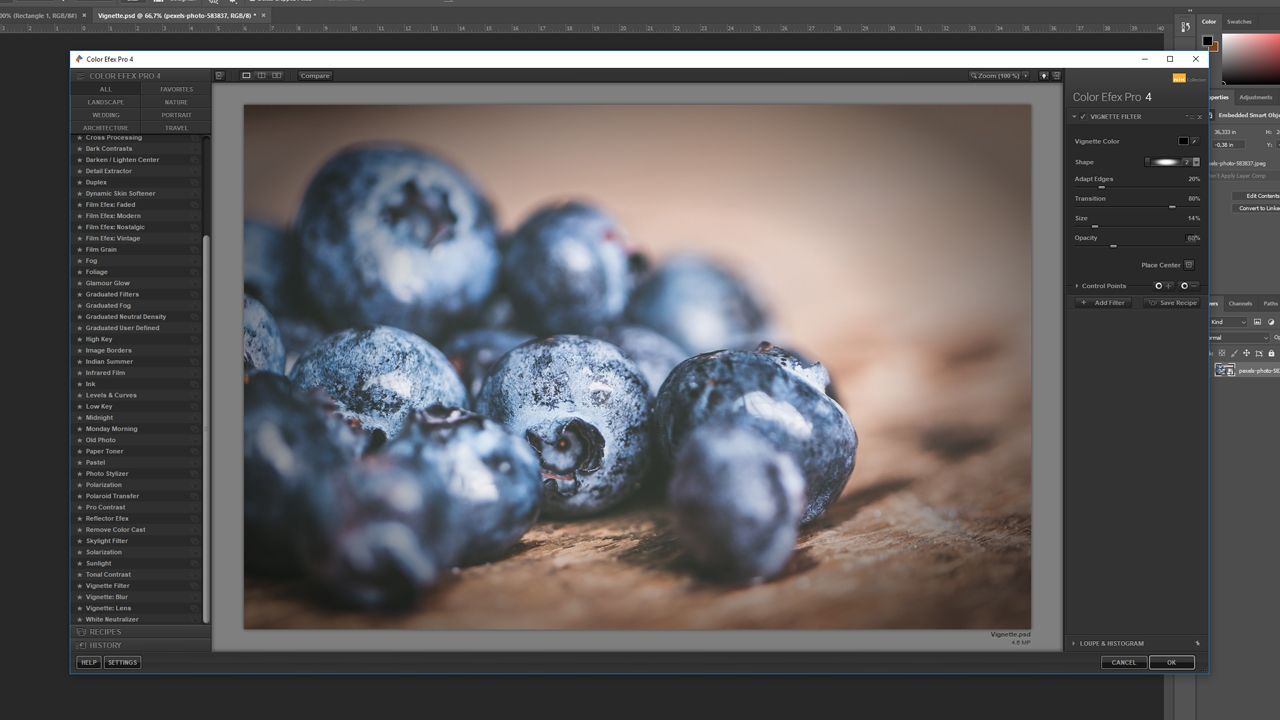
If you have installed the Google Nik Collection for Photoshop, you can also create a vignette effect in a few steps using the Color Efex Pro plug-in. To do so, click the original image in your layer view and then open Google Nik Collection Color Efex Pro. Spot “Vignette” in the left-hand list and select the option. Using the upper right sliders, you can adjust the shape and opacity of the effect to your preferences. Click “OK” to apply the effect.
Credits:
By media designer Christoph Ullrich.

