
When shooting into the light, you have to look out for several things. But you can easily capture a bright sunny day with your camera and even increase the intensity of the light source using the lens flare effect in Photoshop. In this basic tutorial, you will learn how to apply the lens flare effect to create radiant images.
The basic steps
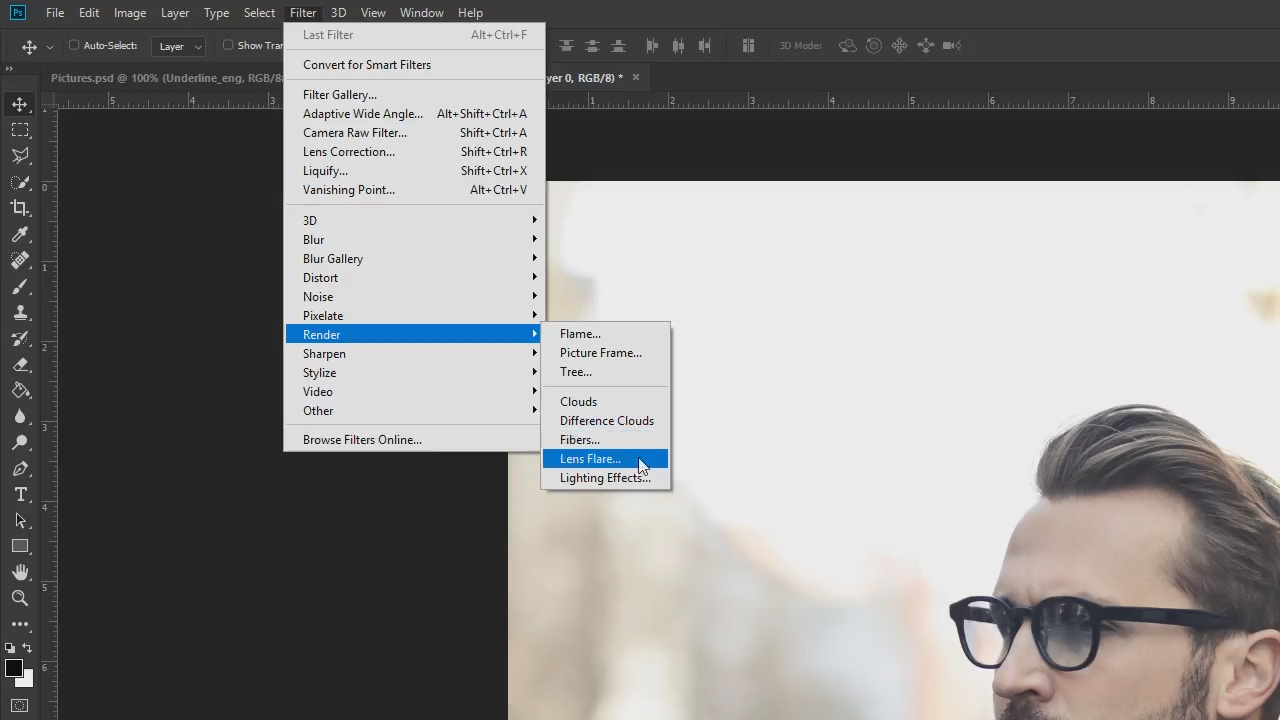
In the example, we want to increase the sunlight behind the person in the photo by editing it in Photoshop. To do so, first click the image layer and then the Filter tab in the top menu. Choose Render and select Lens Flare. The lens flare effect can also be created while shooting with a suitable camera lens and the proper aperture settings.
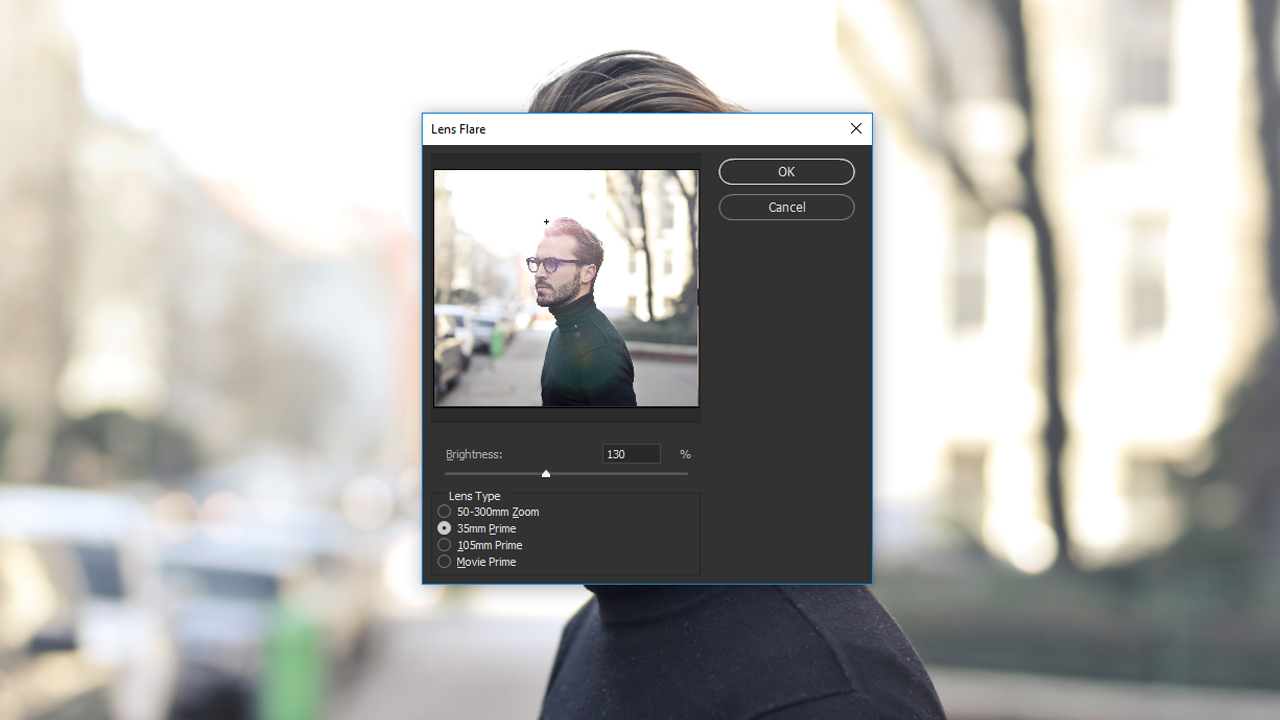
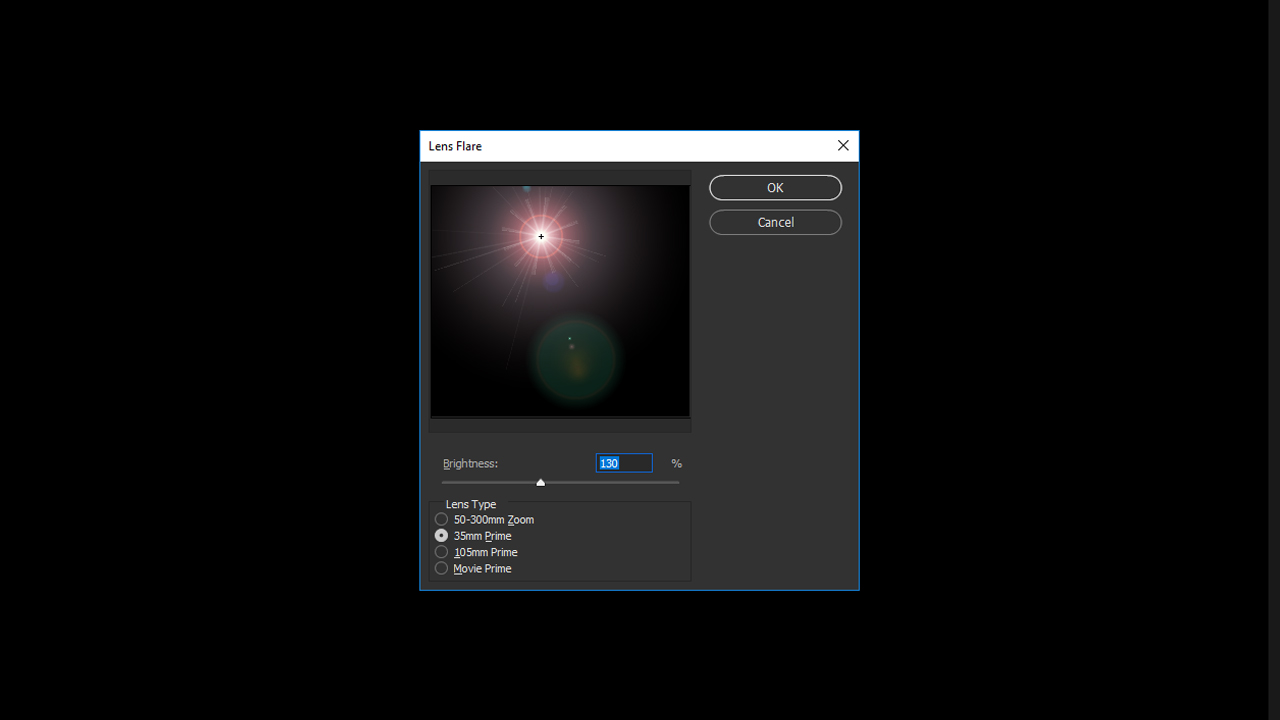
A window opens showing a reduced version of the photo and a small crosshair icon. The crosshairs are in the center of the lens flare effect and can be positioned anywhere in the picture by holding the left mouse button down.
Make sure to align the crosshairs to the light source in the image. Otherwise the effect will seem unrealistic.
In the next step, use the Brightness slider to increase or decrease the brightness of the lens flare effect. You can also choose a Lens Type to simulate the effect. Each lens type produces a different style of the lens flare effect. Just try out the different lens types and choose the one that yields to most realistic result for your image. In this example, we use a brightness value of 130 percent and a simulated lens of 35 mm Prime. Confirm the settings with OK to apply the lens flare effect and increase the brightness of the sun in your image.
Step 1: Create a new layer and fill it with colour
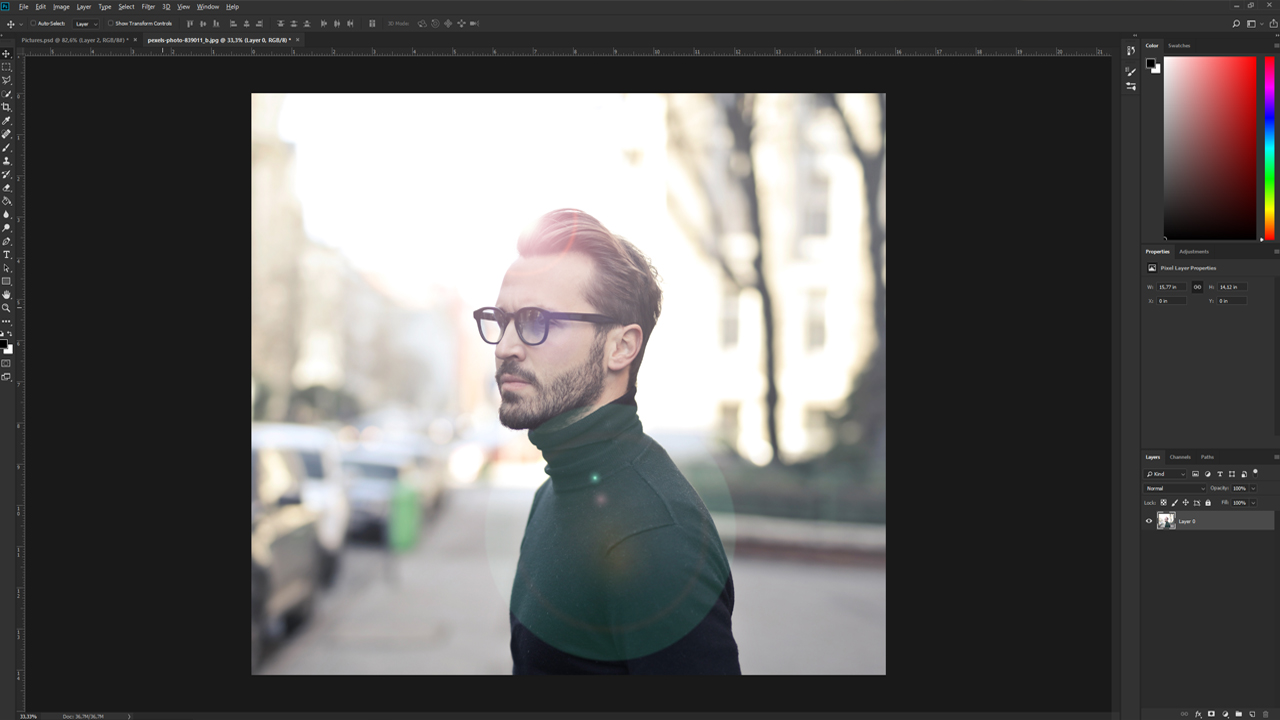
Now, you can no longer edit, magnify or move this lens flare effect in Photoshop. To edit the effect subsequently, you have to create it at a separate layer as follows:
Undo the Lens Flare using the shortcut Ctrl + Z and add a new blank layer using the Layers tab. Photoshop won’t allow us to apply the Lens Flare filter to a blank layer. So we need to fill the layer with black to apply the effect. Choose Fill and colour the layer. Now that the layer is no longer blank, reapply the Lens Flare as earlier.
Step 2: Choose filter and position
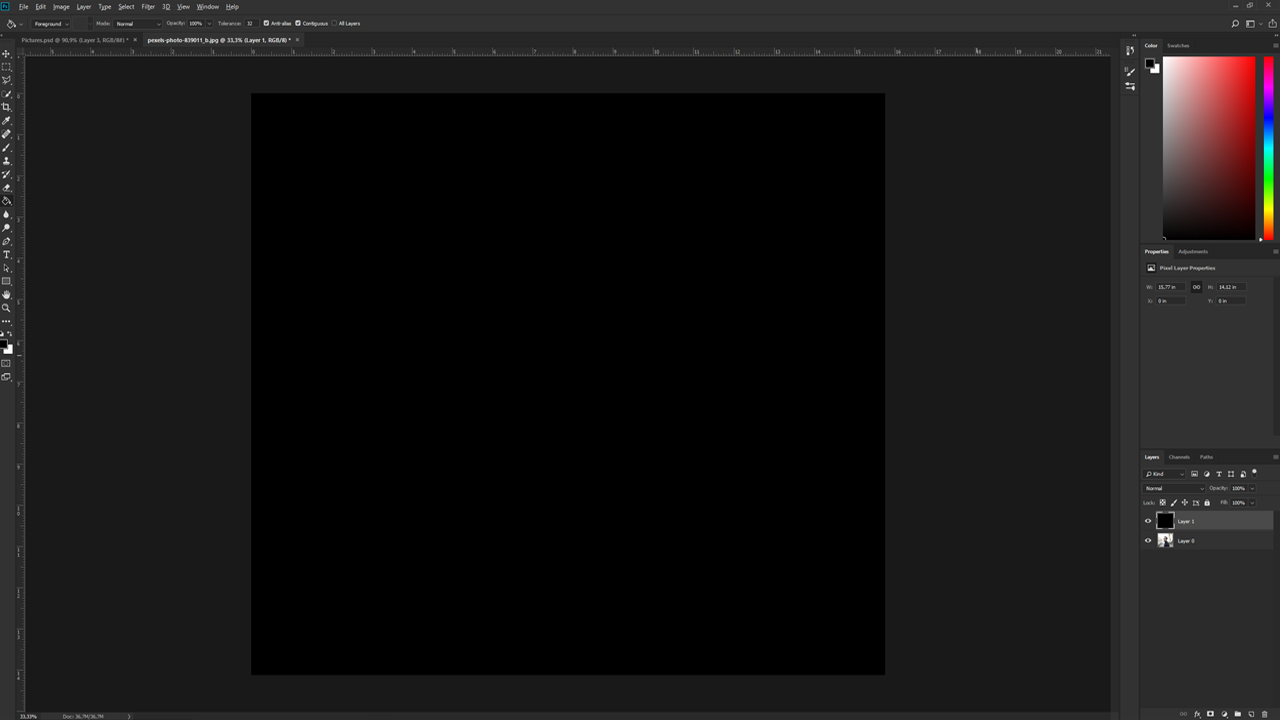
Click the Filter tab again, choose Render and click the Lens Flare tab. This time, you only see the black area with the lens flare effect instead of your subject. Drag the small crosshair icon representing the center of the effect to the approximate position of the light source.
Step 3: Set the brightness value and the lens type
After you have selected the brightness value and the desired lens type, confirm the settings with OK. To apply the effect to the original image, click the drop-down menu on the Layers tab to specify the blend mode and choose Screen.
Step 4: Apply screen to the layer with the lens flare effect
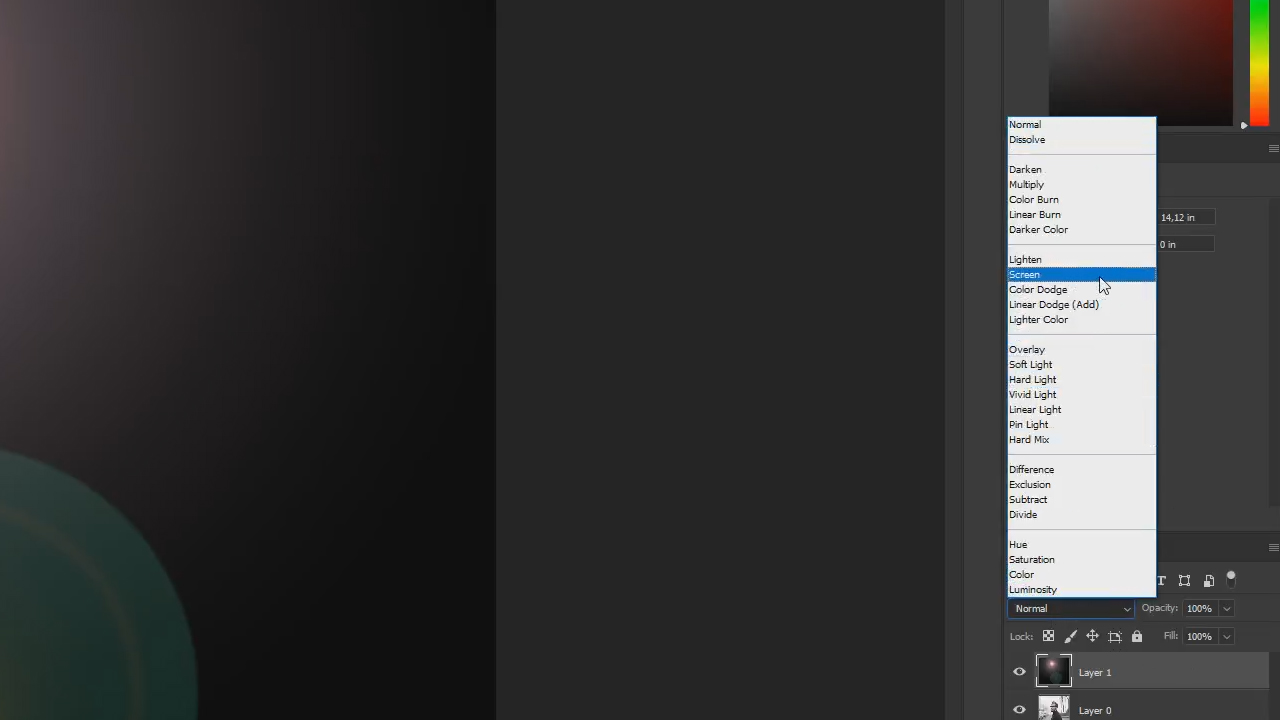
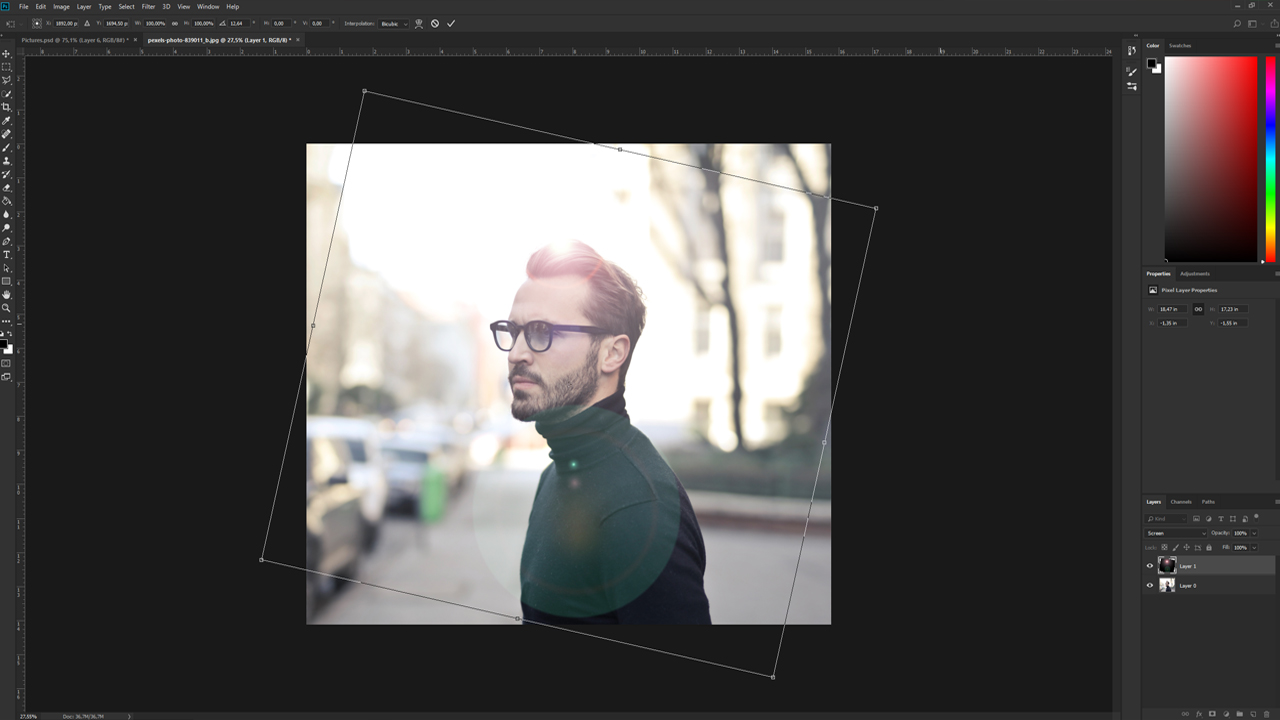
After you have applied this option, the black colour disappears and only the lens flare effect is visible at the layer. Use a second layer to drag and drop the effect to any position using the mouse or to transform it using the shortcut Ctrl + T. The original photo remains unchanged.
Credits:
By media designer Christoph Ullrich.

